Kitchen Layout: Make Cooking Easier With Better Flow 2026
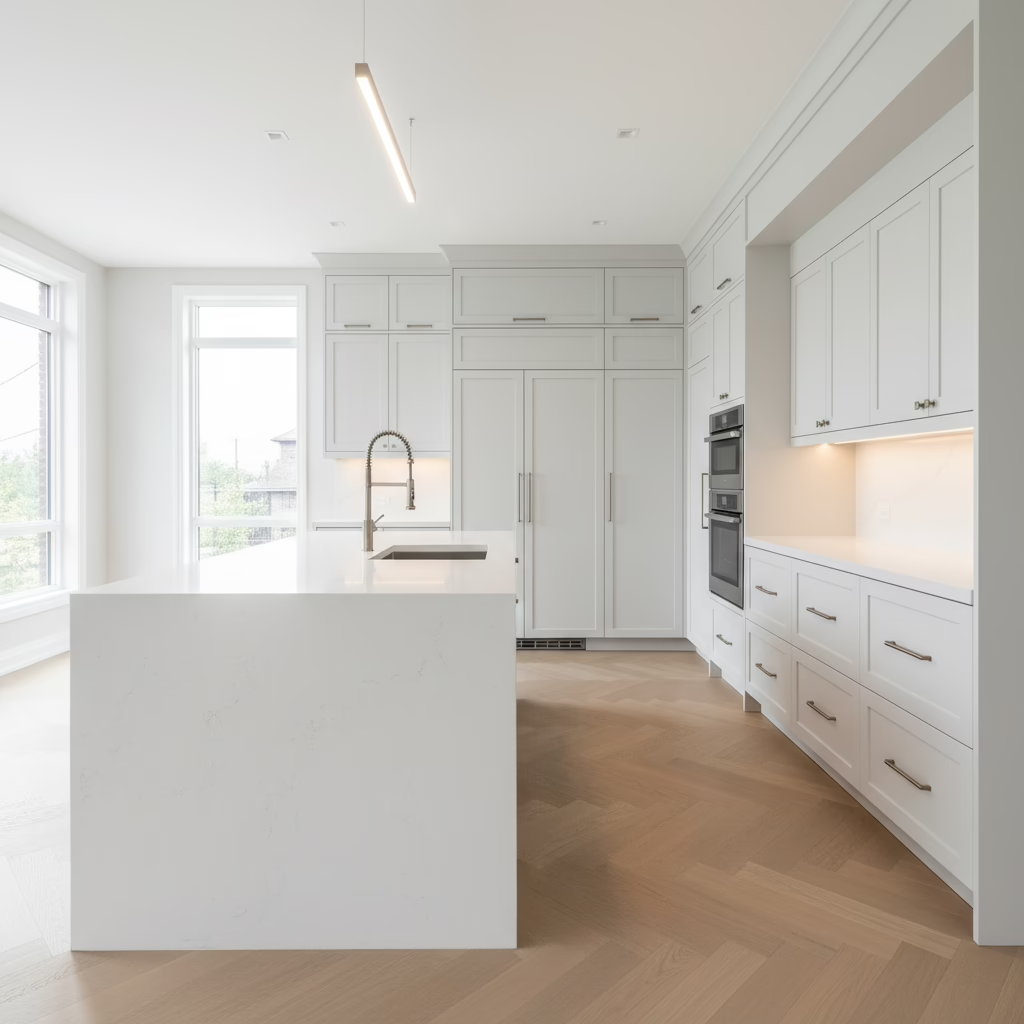
Kitchen design and planning is the end-to-end process of mapping your layout, storage, lighting, materials, and installation steps so the space cooks efficiently and feels effortless to use. It defines workflow zones, clearances, and specifications from day one. For homeowners around 11 Edvac Drive and across the GTA, a planned kitchen reduces delays, rework, and daily friction.
By Ashok — Altima Kitchens and Closets
Last updated: 2026-05-28
At a Glance
Successful kitchen planning aligns layout, storage, lighting, and appliances to real cooking habits. Lock in clearances (36–48 inches for aisles), define task zones, verify utilities, and sequence work from design to install. With factory-direct cabinetry and 2D/3D visuals, you minimize surprises and keep renovation momentum.
This complete guide blends expert standards with Altima’s in-house design-build approach in the GTA. Use it to move from ideas to install with confidence.
- What kitchen design and planning covers (and why it matters)
- Exact clearances, layout types, and workflow zones
- Lighting layers, storage systems, and appliance specs
- 2D/3D design, renovation sequencing, and QA checkpoints
- Real examples from Altima’s GTA projects
Quick Table of Contents
- What Is Kitchen Design and Planning?
- Why It Matters
- How the Process Works
- Layout Types and When to Use Them
- Best Practices and Measurements
- Tools, Drawings, and Resources
- Case Studies and GTA Examples
- FAQ
- Conclusion
- Key Takeaways
What Is Kitchen Design and Planning?
Kitchen design and planning is the structured method of defining your layout, workflow zones, materials, lighting, and installation sequence before any demolition begins. It converts needs into measurements, drawings, and specifications so fabrication and onsite work proceed smoothly, safely, and without rework.
At Altima Kitchens and Closets, planning starts with a discovery session and house/site measures. We document cooking habits, storage needs, and utilities, then translate them into 2D and 3D drawings. Clearances, cabinet lines, appliance placements, and lighting are locked before we manufacture.
Why this definition matters
- Reduces project risk: Precise drawings and itemized scopes prevent scope creep and delays.
- Improves daily use: Measured aisles, landing zones, and lighting layers cut steps and strain.
- Controls quality: Factory-direct cabinets and an in-house install team keep tolerances tight.
When you can visualize the final space at design-time, selections get faster, and manufacturing stays on schedule.
Why Kitchen Planning Matters for GTA Homes
Planning protects timelines, ensures code-aware clearances, and turns wish lists into buildable details. It also tailors storage and lighting to real routines, which can save steps every meal and cut remodeling changes once work begins.
GTA homes vary—condos, older houses, new builds. In our experience, detailed plans catch structural and HVAC conflicts early. For example, setting 42–48 inch work-aisles for one or two cooks avoids bottlenecks and door collisions. Specifying 15+ inches of counter landing at the fridge and 12–18 inches beside cooktops helps with safe transfers.
- Predictable workflow: Sequencing design → approvals → fabrication → install contains risk.
- Better ergonomics: Counter height at roughly 36 inches supports most tasks; 30 inches for seated baking zones.
- Fewer surprises: 2D/3D reviews reveal issues like hood vent paths or island overhang support.
For a deeper dive into prepping your reno path, see our kitchen design process walkthrough, which pairs checklists with visual milestones.
How Kitchen Design and Planning Works (Altima’s Process)
We capture measurements, define zones, and lock specifications in 2D/3D before manufacturing. Then we build in our GTA facility and install with an in-house crew. This end-to-end control keeps tolerances tight and schedules dependable.
Step-by-step workflow
- Discovery & measures: Document room dimensions, windows, HVAC, plumbing, and electrical. Photograph site constraints.
- Needs audit: Cooking style, appliances, storage categories (bulk, bakeware, small appliances), and accessibility.
- Concept drawings (2D): Plan view with cabinet lines, aisle widths (target 42–48 inches), appliance centers, and door swings.
- Visualization (3D): Render finishes (quartz, backsplash, flooring), lighting, and sightlines for day/night views.
- Specifications: Cabinet box materials, door style, hardware, lighting outputs, appliance cutouts, and vent routes.
- Factory fabrication: CNC machining and spray finishing for consistent gaps and smooth action.
- Onsite installation: Leveling, scribing to walls, appliance panels, and final adjustments.
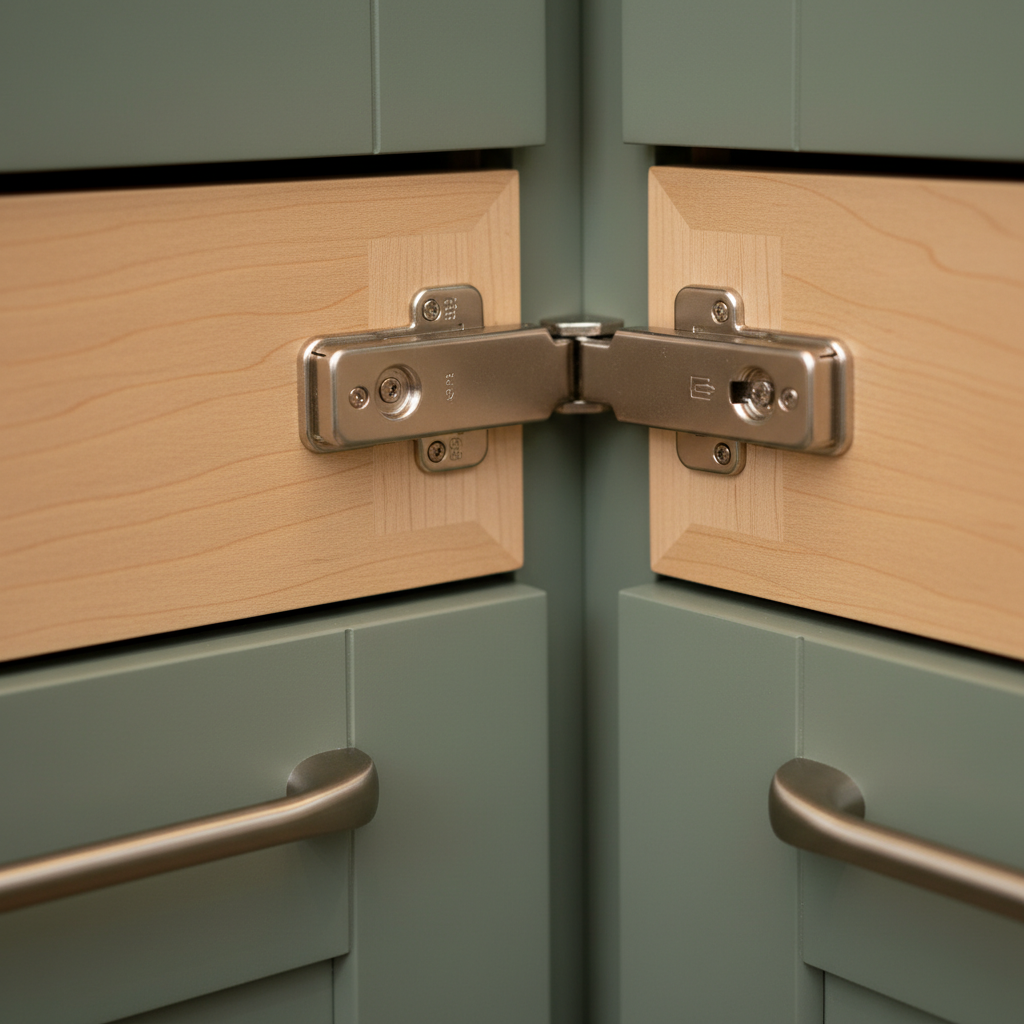
- Quality assurance: Hinge alignment, soft-close action, toe-kick integrity, sealant lines, and final wipe-down.
To see how these steps translate to homeowner decisions, browse ideas in our custom kitchen design ideas collection. If you prefer a guided start, book a no-pressure session from our design consultation guide.
Kitchen Layout Types and When to Use Each
Choose a layout that fits traffic, natural light, and utilities: galley for tight footprints, L-shape for open corners, U-shape for heavy prep, island for social cooking, and peninsula when a full island won’t fit. Match aisle widths (42–48 inches) to the number of cooks.
Common layout patterns
- Galley: Two parallel runs; efficient 4–9 ft between key stations; minimal walking, ideal for condos.
- L-shape: Perimeter on two walls; easy to add an island later; good for open living.
- U-shape: Three walls of cabinets; strong storage and multiple prep zones; watch corner access.
- Island: Adds seating and prep; keep 42–48 inches around; plan power and support for overhangs.
- Peninsula: Island alternative attached to a wall; helpful where clearances are tight.
Layout comparison
| Layout | Best For | Watchouts | Typical Aisle |
|---|---|---|---|
| Galley | Small kitchens, solo cook | Door swing conflicts; lighting depth | 36–42 inches |
| L-shape | Open plans, future island | Corner storage access | 42 inches |
| U-shape | Heavy prep, two cooks | Corner clearance, hood path | 42–48 inches |
| Island | Seating + prep | Power routing, overhang support | 42–48 inches all sides |
| Peninsula | Zones without full island | End traffic bottlenecks | 42 inches |
For compact spaces, see how we adapt clearances in our small-kitchen tips playbook. Planning a secondary cook space? Our basement kitchen design article covers ventilation and egress nuances.
Best Practices, Measurements, and Standards
Lock core dimensions early: 36 inch counters, 24 inch deep base cabinets, 12 inch wall cabinets, and 18 inches minimum clearance from cooktop to non-combustible surfaces (more for combustible). Use 42–48 inch work aisles and provide landing zones by every appliance.
Workflow and ergonomics
- Work triangle: Sink–cooktop–refrigerator legs ideally 4–9 ft each; total 13–26 ft to limit steps.
- Zones over triangles: Prep, cook, clean, and serve zones reduce cross-traffic in busy homes.
- Seating: Allow 24–30 inches per stool and 12–15 inches of knee space under overhangs.
Storage planning
- Base cabinets: 24 inch depth; consider 30–36 inch wide drawers for pots and pans.
- Wall cabinets: 12–15 inch depth; keep 18 inches between countertop and cabinet underside.
- Accessories: Pull-out pantry, spice pull-outs, trash/recycling, trays, and a lazy susan for corners.
Lighting layers
- Ambient: Even ceiling lighting for 20–30 lumens per sq ft coverage.
- Task: Under-cabinet lighting at counters; pendants over islands; dimmable where possible.
- Accent: Toe-kick and inside-glass lighting to guide movement and showcase selections.
Need a structured checklist? Our plan a kitchen renovation post includes printable steps homeowners use to track decisions and measurements.
Tools, Drawings, and Resources That Speed Decisions
Use 2D plans for exact lines and 3D visuals for finishes and sightlines. Add sample boards, door profiles, and hardware in one view. This compresses decision time and reduces mid-project changes.
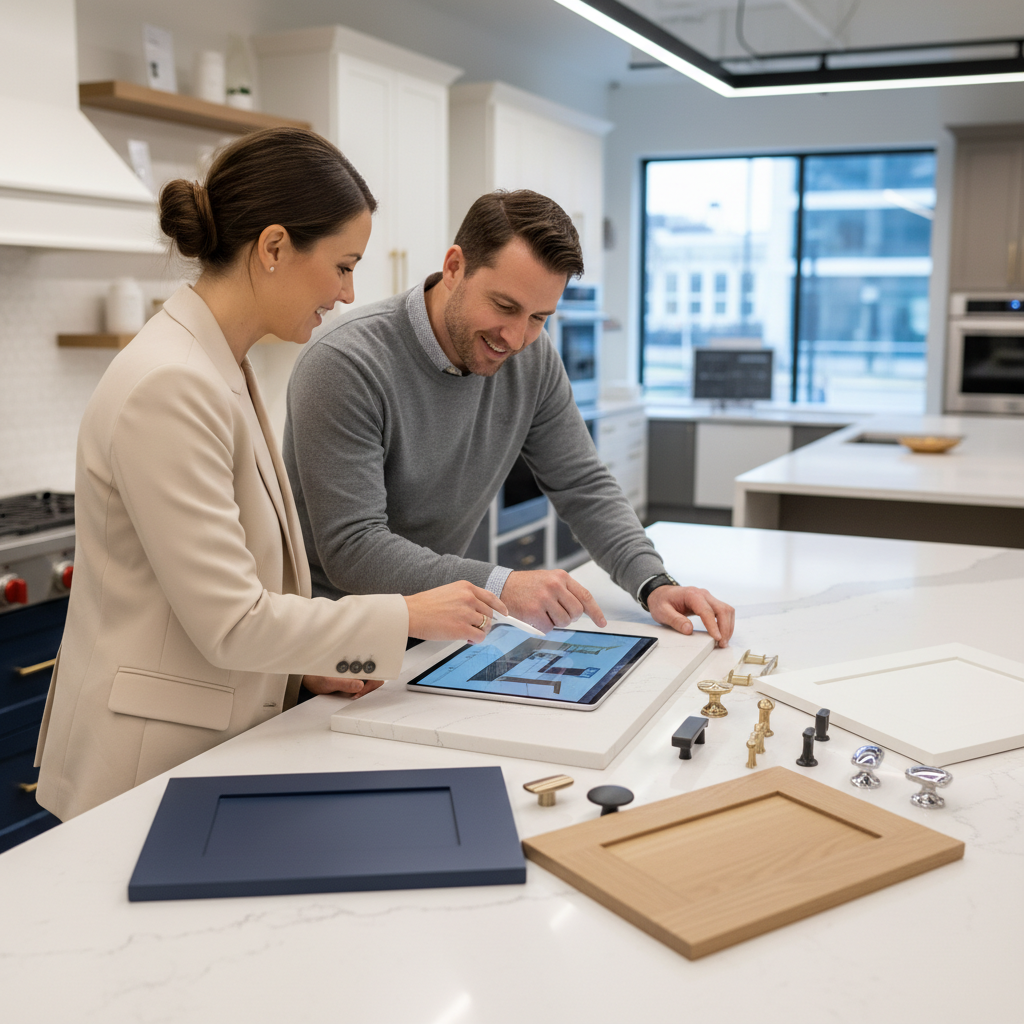
Altima pairs drawings with real samples in our showroom to ground decisions. We blend door styles, quartz, hardware, and lighting in one kit so clients can compare textures side-by-side under neutral light. That context eliminates guesswork and supports confident approvals.
- 2D drawings: Scaled plan and elevations with cabinet IDs and appliance centers.
- 3D renders: Day/night lighting, reflection, and color checks.
- Sample boards: Doors, quartz, backsplash, hardware, and flooring under consistent lighting.
- Spec sheets: Appliance cutouts, venting, plumbing, and electrical rough-in points.
For door construction basics (styles and build methods), this general cabinet door guide provides a helpful overview of common profiles and materials.
Materials, Cabinetry, and Appliance Choices
Select cabinet construction for durability, align door style with home architecture, and match appliances to power, ventilation, and cutout specs. Prioritize quiet dishwashers, well-vented hoods, and induction or gas based on cooking habits and electrical capacity.
Cabinet construction
- Boxes: Melamine or plywood options with edge banding; choose based on durability and finish goals.
- Doors: MDF painted and prelaminated options; Altima backs select doors with lifetime warranty.
- Hardware: Soft-close hinges and full-extension glides for smooth action and access.
Counters and splash
- Quartz countertops: Non-porous, consistent patterning; plan seams and support for overhangs.
- Backsplashes: Tile, slab, or quartz riser; align with outlet layout and hood height.
Appliances
- Refrigeration: Verify door swing and hinge clearance; land 15+ inches of counter near handle side.
- Cooking: Check BTU or induction power, ventilation CFM and duct path, and pan compatibility.
- Dishwashers: Consider sound rating (dBA), panel-ready options, and drain routing.
For a look at entry-level versus custom doors, browse this neutral standard vs. custom door overview as you discuss style and performance tradeoffs with your designer.
Renovation Sequencing and On-Site Readiness
Sequence demolition, trades rough-ins, inspection, flooring, cabinets, counters, backsplash, and finishing. Protect floors, verify walls are plumb and square, and pre-check appliance clearances before cabinets arrive to keep install days efficient.
Typical order of work
- Protect adjacent spaces, isolate dust, and remove existing cabinets and tops.
- Update plumbing, electrical, HVAC rough-ins; verify dedicated circuits.
- Inspect framing; correct out-of-square walls and level floors.
- Install flooring (where it runs under cabinets) or prep subfloor.
- Deliver and stage cabinetry; confirm counts and condition.
- Set cabinets level, scribe to walls, and anchor per specs.
- Template quartz; verify seams, overhangs, and support.
- Install countertops, sink, faucet; then backsplash and finish paint.
To visualize the journey with real before/afters, explore our kitchen remodel transformations.
Workflow Zones and Storage Systems That Work
Organize the kitchen by zones—prep, cook, clean, and serve. Keep knives, boards, and bowls within 1–2 steps of the prep zone; pots and spices by the cook zone; dishes near the clean zone. Integrate pull-outs and deep drawers to minimize bending and reach.
Zone-by-zone tips
- Prep: 30–48 inch uninterrupted counter, knife/board drawers, trash pull-out, and task lighting.
- Cook: Pots/pans drawers, spice pull-out, tray dividers, and a heat-tolerant landing area.
- Clean: Sink base with organizers, dishwasher to the right or left of sink, towel storage.
- Serve/Coffee: Appliance garage, mugs, and small-fridge options; plan GFCI and ventilation.
Accessories like a pull-out pantry, lazy susan, and double-bin recycling make daily routines smoother. For inspiration across layouts, see curated ideas in our GTA kitchen design ideas.
Common Pitfalls—and How Planning Prevents Them
Most kitchen delays trace to unclear specs, late selections, and site conditions. Lock appliances early, finalize door styles and hardware, and check walls and floors for plumb/level. 2D/3D reviews uncover conflicts before materials are ordered.
- Appliance conflicts: Wrong cutouts or hinge interference—solve with final spec sheets in drawings.
- Ventilation path: Long or obstructed duct runs reduce capture; align hood CFM to ducting and cooktop.
- Lighting shadows: No under-cabinet fixtures create glare; plan task lighting over prep runs.
- Traffic jams: Aisles under 42 inches cause collisions; widen or adjust island size.
When in doubt, a quick consult saves time. Our design consultation guide explains what to bring and what you’ll leave with after a 45–60 minute session.
Durability, Maintenance, and Smarter Upgrades
Choose durable surfaces, plan for ventilation, and consider efficient appliances to reduce noise, moisture, and wear. Maintenance-friendly decisions—like quartz counters and full-extension drawers—keep the kitchen looking new with less effort.
- Materials: Non-porous counters and high-quality hinges reduce callbacks.
- Ventilation: Size hood CFM to the cooktop; shorter, straighter ducts improve capture.
- Appliances: Look for quiet dishwashers and features that match your cooking style.
For makeover ideas focused on finish refreshes, this neutral overview of budget-friendly cabinet updates can spark what to refinish or replace during planning.
Case Studies and GTA Examples
Real projects prove the plan: measured aisles, defined zones, and vetted specs produce kitchens that feel effortless. These snapshots show how clear drawings and factory-direct cabinetry translate into daily ease.
Family hub in a GTA detached home
- Challenge: Choppy traffic and dark prep areas.
- Plan: L-shape plus island, 44 inch aisles, under-cabinet LEDs, and a 36 inch drawer stack by the cooktop.
- Outcome: Fewer collisions, faster prep, and a brighter space that anchors family meals.
Condo galley reimagined
- Challenge: Narrow room and limited power on one wall.
- Plan: Galley with 38–40 inch aisle, panel-ready dishwasher, and integrated pull-out pantry.
- Outcome: Streamlined lines, easy access, and better sightlines to the living room.
Basement kitchenette for entertaining
- Challenge: Vent routing and egress considerations.
- Plan: Peninsula layout, 42 inch clearance, beverage center, and durable flooring.
- Outcome: A resilient, low-maintenance space that supports weekend hosting.
See more transformations in our before-and-after gallery and specialized notes in our basement kitchen planning write-up.
Local considerations for 11 Edvac Drive
- Seasonal humidity shifts can move wood slightly—plan expansion gaps and specify stable door constructions.
- Winter installs mean tighter dust control and staging—coordinate delivery windows and protect finished floors.
- Weekday traffic peaks affect deliveries—align drop-offs and trades to morning windows to keep installs on time.
Get a head start: Book a friendly planning session. We’ll review 2D/3D options, door styles, and storage layouts—then outline next steps with an itemized scope. Start here: Kitchen Design Consultation.
Frequently Asked Questions
Most homeowners ask about timelines, aisle widths, islands, and what to finalize first. Lock appliances and layout early, review 2D/3D drawings, and confirm power, plumbing, and ventilation before fabrication.
What should I decide first when planning a kitchen?
Finalize your layout and appliances first. That locks key measurements, clearances, and utility needs. With those set, you can select cabinets, counters, backsplash, and lighting confidently and move straight into 2D/3D sign-offs and fabrication.
How wide should kitchen aisles be?
Plan for 42 inches for a primary work aisle and up to 48 inches if two people cook together. In compact kitchens, don’t drop below 36 inches. Verify door swings, appliance handles, and stool overhangs won’t collide.
Do I need an island or a peninsula?
Choose an island if you have at least 42–48 inches clear on all sides and want seating. If space is tighter or traffic funnels through the room, a peninsula creates a defined zone without requiring full perimeter clearance.
When do 3D kitchen renders help most?
3D views shine when you’re choosing finishes or confirming sightlines—pendant heights, under-cabinet lighting, and island proportions are easier to judge in a realistic scene than on paper. They reduce mid-project changes dramatically.
What storage accessories make the biggest daily impact?
Deep drawers for pots, a double-bin trash pull-out by prep, a spice pull-out near the cooktop, tray dividers, and a pull-out pantry. These reduce bending and searching, keeping your most-used items within a step or two.
Conclusion: Turn Vision Into a Kitchen That Works
Define the layout, verify measurements, and preview the look in 3D before a single cabinet ships. With spec-driven planning and an in-house install team, you’ll land a kitchen that cooks smoothly on day one—and for years after.
Kitchen design and planning is where great results start. When drawings, samples, and specifications align, the build flows. If you’re ready to see options tailored to your home, our team can translate your routines into drawings you can trust.
Key Takeaways
Great kitchens are built on measurements and decisions you make before demo. Choose a layout that fits traffic, lock in appliance specs, and use 2D/3D to confirm finishes. End-to-end control—from factory to install—keeps the quality consistent.
- Pick the right layout: galley, L, U, island, or peninsula.
- Use 42–48 inch aisles and provide landing zones at appliances.
- Layer lighting: ambient, task, and accent for balanced visibility.
- Plan zones and storage accessories where you work.
- Sequence design → fabrication → installation with QA checks.
Next step? Book a friendly consult and see your space take shape: Start planning your kitchen.
For general inspiration on finish refresh ideas, see this overview of cabinet updates, and for door construction basics review a neutral cabinet door guide. Creative layout inspiration across rooms can spark ideas too—this roundup of kitchen ideas offers a casual scan.
Related Posts
Why Choose Kitchen Renovation Company
Nowadays, Kitchen spaces are not only a place for cooking and serving food, but these areas act as a statement, as they speak a lot about a family, the philosophy and personality of individuals, and spaces. If you admire aesthetics and adorn the beauty of your home, you must pay attention to the interior design […]
How a Kitchen Renovation Contractor is Changing the Game
Lifestyle is all about bringing something coherent to the overall experience of living. The kitchen and closets stand as two of the most influential spaces in a home that add to the overall experience of living. A Kitchen Renovation Contractor in Whitby by the name of Altima Kitchen and Closets Inc. is changing the overall […]
How Media unit contractor in Whitby is Changing the Game
Lifestyle is all about bringing something coherent to the overall experience of living. The kitchen and closets stand as two of the most influential spaces in a home that add to the overall experience of living. A Media Unit Company in Whitby by the name of Altima Kitchen and Closets Inc. is changing the overall […]