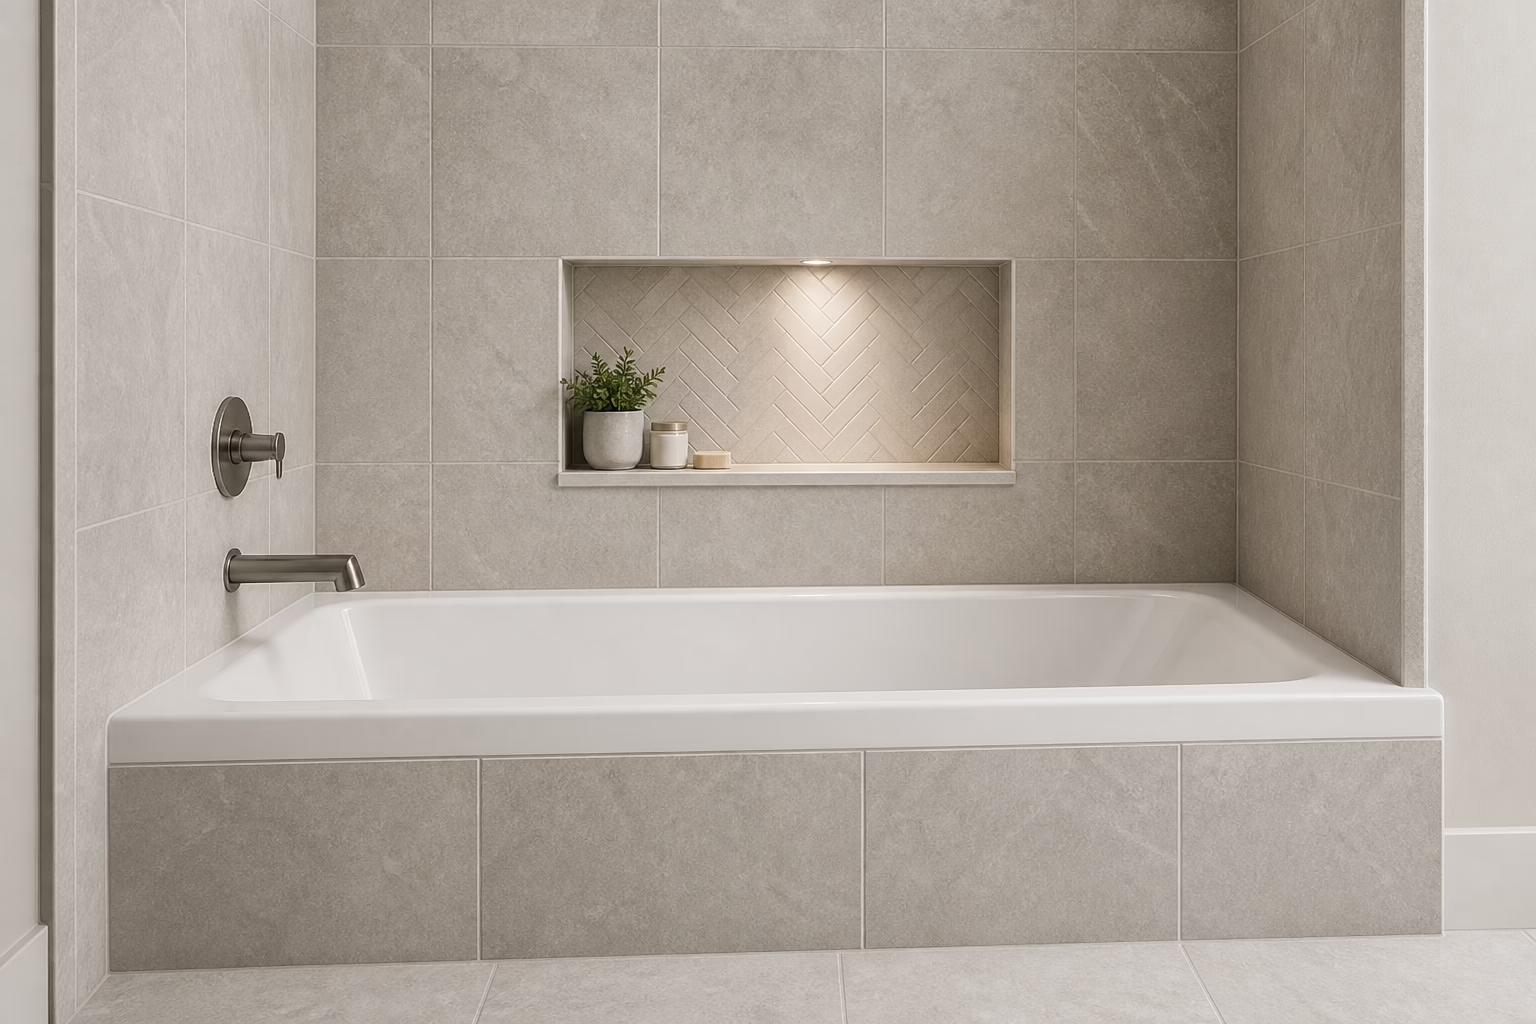
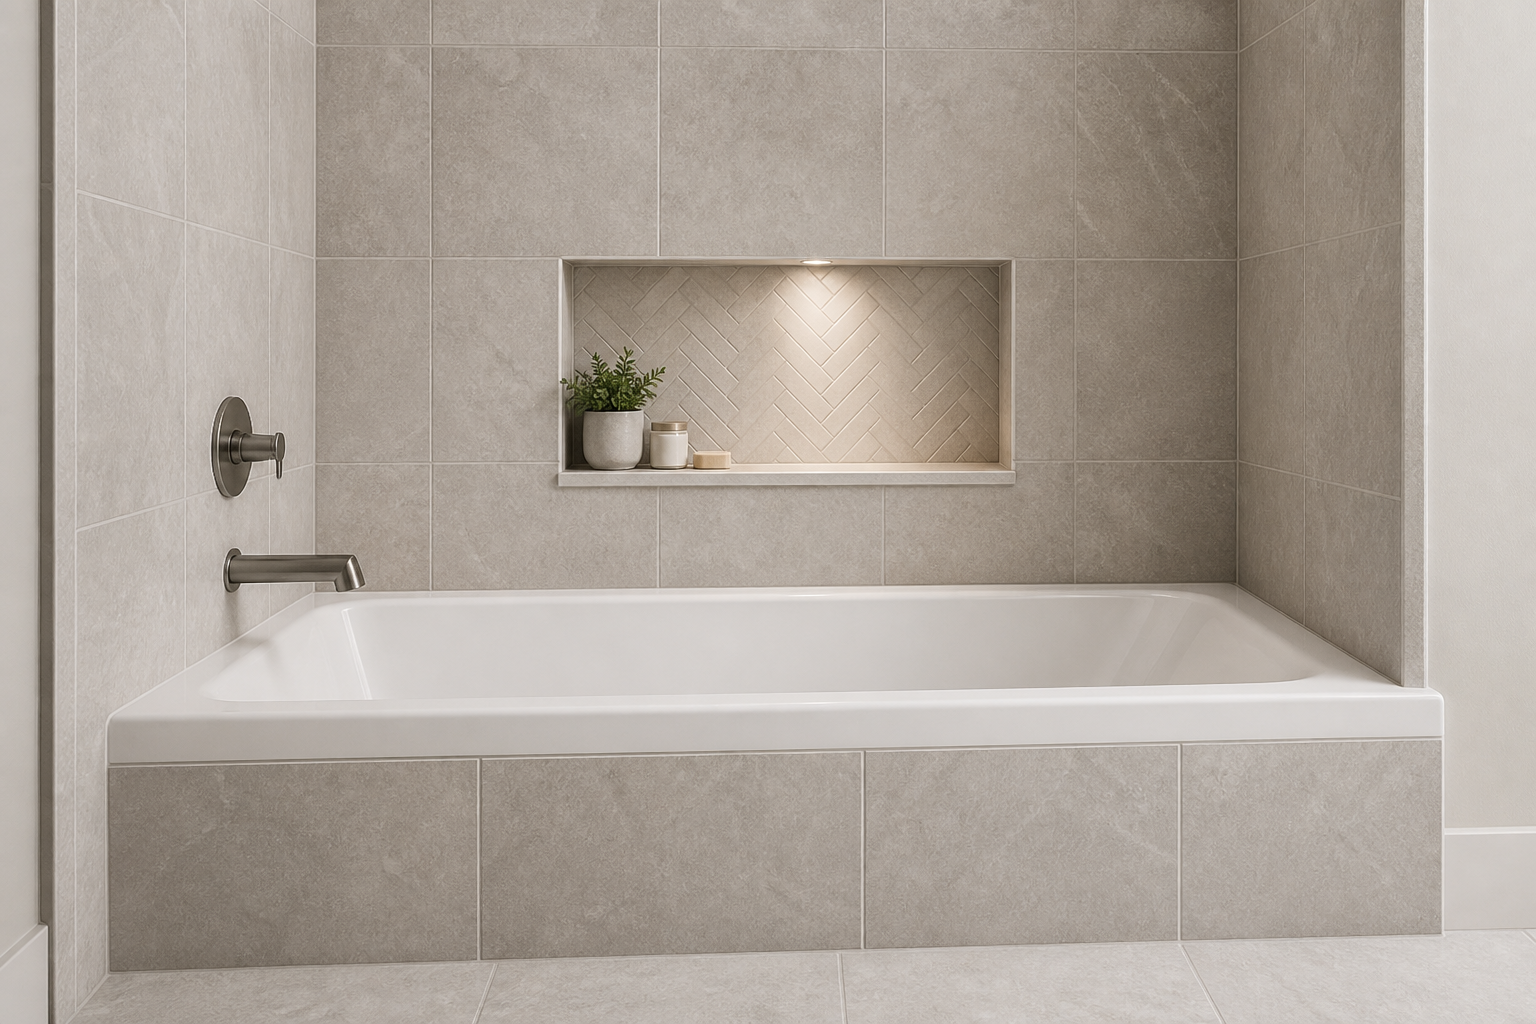
Bathtub tile installation: planning, prep, and steps for a lasting surround
A successful bathtub tile installation is equal parts preparation, precision, and patience. Done well, it protects walls from daily moisture, simplifies cleaning, and elevates the entire bathroom. This walkthrough focuses on durable decisions you can verify, a step-by-step sequence you can follow, and a checklist to help you avoid the most common pitfalls.
Set your scope and standards
Before buying tile or opening a bucket of mortar, define exactly what you’re building and how you’ll judge success.
- Scope: Will you tile to the ceiling, to a fixed height, or create an accent band? Are you tiling the tub deck, niche, and apron?
- Moisture strategy: A continuous, well-detailed waterproofing layer behind the tile is non-negotiable in wet zones.
- Layout priorities: Center lines, balanced cuts, and straight, plumb reference lines are your quality anchors.
- Edge plan: Decide on trim solutions (bullnose, matching edge trims, or metal profiles) before you start.
- Cleaning and upkeep: Choose materials and grout types that match your maintenance tolerance.
Choose tiles and materials that work in wet zones
Tile selection has a direct impact on waterproofing details, installation time, and maintenance.
- Tile type: Porcelain and glazed ceramic are popular for tub surrounds thanks to low water absorption and easy cleaning. Natural stone can look striking but typically requires more sealing and maintenance.
- Tile size: Larger tiles reduce grout lines but demand flatter walls; mosaics conform to curves and slopes (niches, soap ledges) but increase grout area.
- Texture: Smooth, glossy wall tiles clean easily; matte textures hide water spots; high-relief surfaces need extra care.
- Grout: Cementitious grout is common; high-performance options (e.g., pre-mixed or epoxy types) can improve stain resistance and reduce maintenance. Follow the manufacturer’s instructions for mixing, application, and cure times.
- Trim and profiles: Plan for exposed edges and outside corners using bullnose pieces or compatible edge profiles for a clean, safe finish.
Measure and prepare the bathtub area
Great finishes rely on solid foundations. Invest time in inspection, measurement, and surface prep.
- Check the tub install: The tub rim should be level on all sides and adequately supported. Shim and secure per the tub manufacturer’s instructions. Ensure the flange is continuous and accessible for waterproofing.
- Assess the substrate: Greenboard or standard drywall in wet zones is a frequent failure point. Use a backer suitable for wet areas (e.g., a cementitious backer or a manufacturer-approved wall board for tile). Fasten per specifications and maintain proper fastener spacing.
- Flatness and plumb: Use a long straightedge to check walls for bows and humps. Plane or skim as needed. Straighter walls equal faster tiling and tighter lines.
- Plan your lines: Snap a level ledger line for the first full tile row above the tub, allowing space to later scribe the bottom course to the tub for a tight, even gap.
- Dry-fit: Lay out a few rows on the floor to confirm joint size, pattern, and cut sizes at corners and edges. Adjust the starting point to avoid sliver cuts.
Waterproofing is your fail-safe
Tile and grout are not your primary water barrier—the membrane is. Aim for a continuous, well-detailed waterproofing layer that ties into the tub flange and protects vulnerable details like niches and internal corners.
- Membrane choice: Use a waterproofing solution designed for wet wall assemblies (sheet or liquid-applied). Follow the specific system’s instructions for overlaps, dry-film thickness, and cure times.
- Tub-to-wall transition: Bridge the tub flange to the wall board with the manufacturer’s recommended band or flashing method. Avoid voids or gaps where water can track.
- Penetrations: Seal around valves, spouts, and showerheads with gaskets or compatible sealant to maintain the membrane’s integrity.
- Inside/outside corners: Preformed corners or careful membrane folding prevent pinholes and weak spots.
- Niches and shelves: Detail these high-splash zones meticulously; reinforce corners and seams as instructed by the membrane system.
Mix thinset and set tiles correctly
Mortar selection and technique are as important as layout. Use a mortar approved for your tile type and size, and mix to the manufacturer’s recipe.
- Choose the right trowel: Match notch size to tile dimensions to achieve proper coverage. Larger tiles often require larger notches.
- Key and comb: Burn a thin layer of mortar into the substrate with the flat side of the trowel, then comb in straight, parallel ridges. For larger tiles, back-butter to improve coverage.
- Coverage: Aim for consistent mortar transfer when you lift a tile to check. Full coverage helps prevent water tracking and tile fracture.
- Start above the ledger: Set the second row first along your level ledger. Work upward, maintaining even joints with spacers. Leave the bottom row off until the field above is set.
- Keep it clean: Wipe squeeze-out from joints before it hardens. Clean thinset off the tub and tile faces promptly to avoid stains or lippage traps.
- Control lippage: Use straightedges, levels, and, if appropriate for your tile and grout joint, leveling clips. Do not force tiles into place if the substrate is out—correct the substrate instead.
- Cut to the tub: After upper rows cure, scribe and cut the bottom course to follow the tub’s contour, maintaining a consistent gap for flexible sealant.
Grout, seal, and finish edges
Finishing steps protect your work and define the final look.
- Grouting: Mix grout per instructions. Pack joints fully with a float held at a 45-degree angle. Clean diagonally with a damp sponge and refresh rinse water often.
- Movement joints: Where planes change (wall-to-wall corners) and at the tub-to-tile gap, use a flexible, color-matched sealant instead of rigid grout to accommodate movement.
- Edge trims: Install bullnose or metal profiles flush with tile faces for a crisp, safe perimeter.
- Sealing: If using a grout or stone that requires sealing, apply the recommended sealer after grout cures. Follow re-seal intervals provided by the product manufacturer.
- Fixtures: Reinstall shower hardware with a thin bead of compatible sealant at escutcheons to keep water out of the wall assembly.
Common mistakes to avoid
- Skipping waterproofing or relying on grout alone for water resistance.
- Setting the first row directly on an unlevel tub rim; this telegraphs a crooked layout.
- Using the wrong mortar or trowel notch, leading to poor coverage and hollow spots.
- Ignoring flatness; trying to “bend” tiles to fix bowed walls causes lippage.
- Grouting changes of plane; these joints need flexible sealant.
- Not planning for trims; exposed tile edges can look unfinished and feel sharp.
- Rushing cure times; premature exposure to water can compromise the installation.
Maintenance that protects your investment
Consistent care extends the life and appearance of your surround.
- Ventilation: After bathing, run exhaust fans and leave the curtain or door open to promote drying.
- Routine cleaning: Use pH-neutral cleaners designed for tile and grout. Avoid harsh abrasives that can scratch glazes or erode grout.
- Sealant checks: Inspect the tub-to-tile joint and corners periodically. Reapply flexible sealant if cracks or separations appear.
- Grout touch-ups: Address pinholes or hairline cracks early to prevent moisture intrusion.
- Hardware vigilance: Reseal around fixtures if you notice moisture weeping or staining.
Tools and materials checklist
Gather everything before you start so you can maintain momentum and consistent quality.
- Surface and waterproofing: Backer board suitable for wet areas, fasteners, waterproofing membrane (sheet or liquid), seam tape/bands, compatible sealants, gaskets for penetrations.
- Setting materials: Appropriate thinset or approved adhesive for your tile and substrate, mixing paddle, clean buckets, notched trowels matched to tile size, margin trowel, spacers, leveling clips (if used per system guidance).
- Cutting and shaping: Tile cutter, wet saw with suitable blade, nippers, hole saws for plumbing penetrations, files/stone for edge smoothing.
- Layout and QA: Tape measure, laser level or spirit level, chalk line, straightedges, square, shims, ledger board.
- Grouting and finishing: Grout, grout float, sponges, microfiber cloths, sealers (if required), color-matched flexible sealant, edge trims or bullnose pieces.
- PPE and protection: Safety glasses, hearing protection, gloves, drop cloths, surface protection for the tub.
Step-by-step summary
- Confirm tub is level and secured; protect the tub surface.
- Install appropriate backer board; ensure flat, plumb walls.
- Detail waterproofing continuously, including corners, penetrations, and the tub flange transition.
- Lay out tile pattern; set a level ledger line and dry-fit to avoid sliver cuts.
- Mix mortar per instructions; key, comb, and back-butter as needed for coverage.
- Set tiles from the ledger upward; maintain joint consistency and clean as you go.
- Scribe and install the bottom row to the tub with a consistent gap.
- Grout after proper cure; use flexible sealant at changes of plane and the tub joint.
- Finish edges with trims; reinstall fixtures with careful sealing.
- Allow full cure before regular use; then maintain with gentle cleaning and periodic inspections.
When to consider calling a pro
Many motivated DIYers can complete a bathtub tile installation if they plan thoroughly and follow product instructions. That said, some scenarios justify bringing in experienced help:
- Structural issues, wall movement, or significant out-of-plumb conditions.
- Complex layouts involving niches, multiple corners, or mixed materials.
- Large-format tiles on uneven walls requiring surface correction.
- Hidden moisture damage discovered during demolition.
- Strict timelines that don’t allow for learning curves or extended cures.
If you do hire out, ask candidates to explain their waterproofing method, how they treat the tub flange, and what products and cure times they use. Request a clear scope that lists substrate, membrane, mortar, grout, trims, movement joints, and cleanup.
FAQ: bathtub tile installation
How high should tile go above a bathtub?
Common practice is at least several inches above the showerhead outlet when the tub is used for showering, or to the ceiling for a cleaner look and simpler waterproofing transitions. If the tub is not used for showering, you can end lower, but keep splash exposure and aesthetics in mind.
Do I need to waterproof over cement backer board?
Yes. Cement backer board is moisture-resistant but not waterproof. A dedicated waterproofing system—sheet or liquid-applied—creates the continuous barrier that protects the wall assembly.
Should I caulk or grout where the tile meets the tub?
Use a compatible, color-matched flexible sealant at the tile-to-tub joint and at all changes of plane. These areas move slightly and need flexibility to prevent cracking and leaks.
Can I set tile directly over existing tile?
It’s possible if the existing tile is sound, clean, and flat, and if your chosen setting materials and waterproofing strategy are compatible. Confirm bond strength and thickness buildup, and ensure plumbing trim will still fit correctly with the added depth.
How long before I can use the shower after tiling?
Cure times vary by product and environment. Follow the specific instructions for your waterproofing, mortar, grout, and sealant. Rushing this step risks bond failure, staining, or compromised waterproofing.