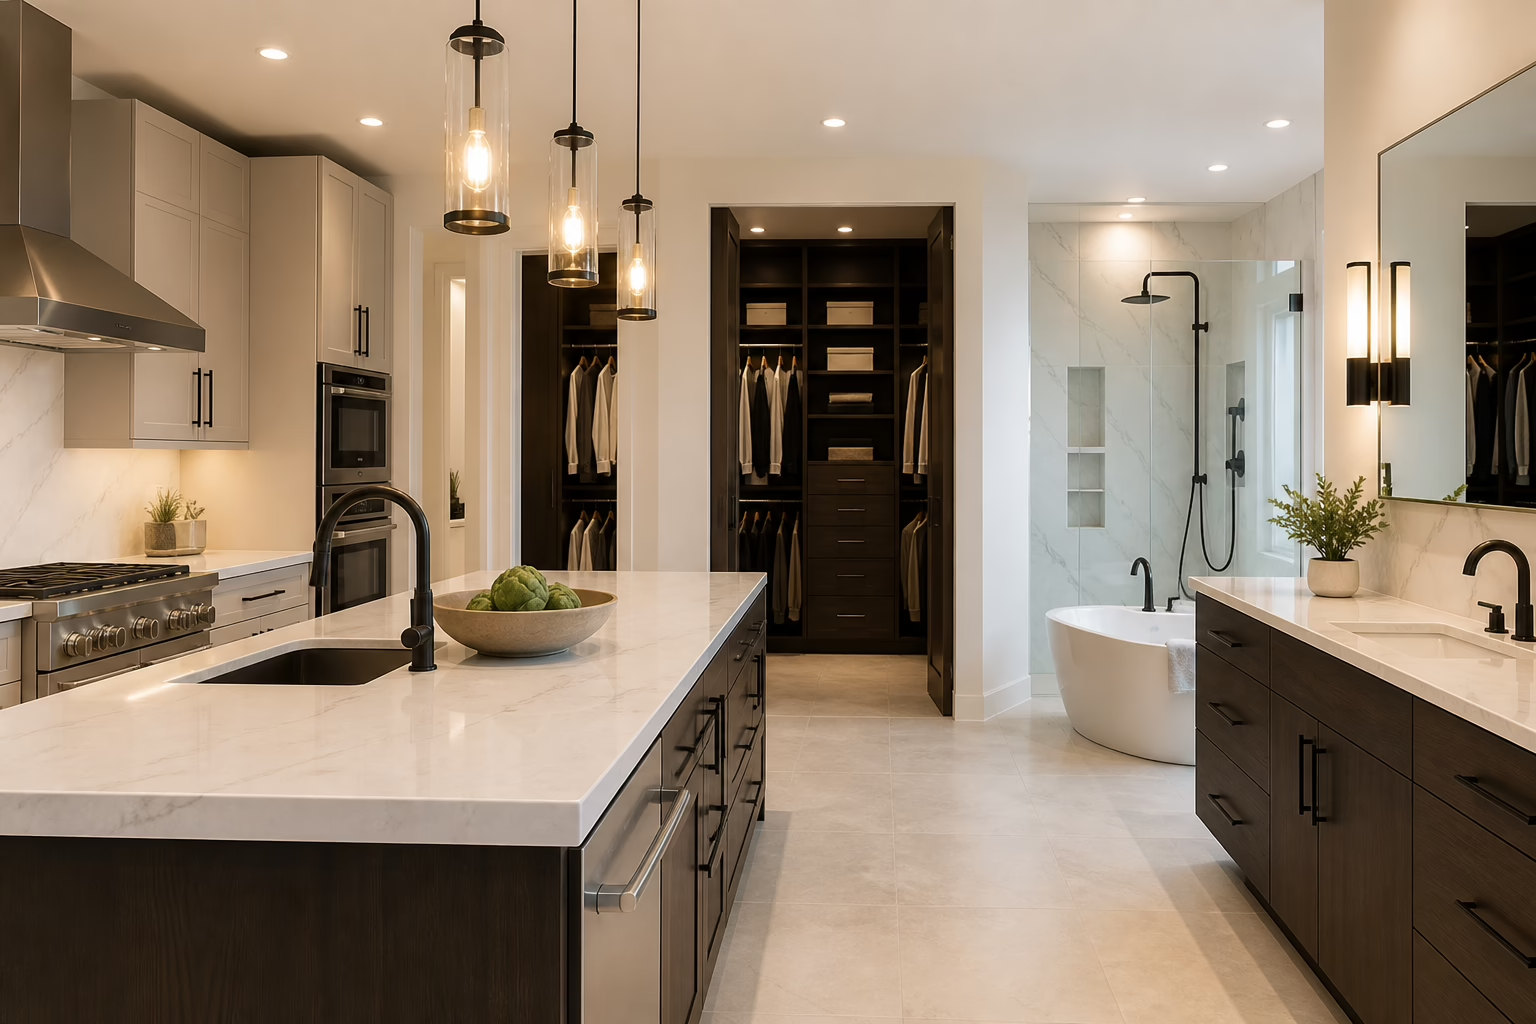
If you want a home that looks cohesive and functions smoothly, it makes sense to design kitchen and bathroom together. Treating them as one connected plan helps you coordinate finishes, control costs, reduce timeline friction, and build habits that make both spaces easier to use and maintain. This guide walks through a clear workflow—what to measure, how to choose layouts, which materials survive moisture and heat, and how to phase the work so your day-to-day life stays manageable.
Start with a joined brief
Before diving into product choices, capture how you live and what you want both rooms to do. A simple, shared brief prevents rework and sets up decisions that carry across spaces.
- People and patterns: Who cooks and when? How many share the bathroom in the morning rush? Do you host often, meal-prep on weekends, or need a kid-friendly bath?
- Key tasks and zones: Food prep, cleanup, coffee station, baking area, vanity grooming, fast showers vs. soaking bath, linen access.
- Storage categories: Daily essentials at arm’s reach, bulk pantry, cleaning supplies, towels, medications, hair tools.
- Style anchors: Two or three words that define the look (for example, warm-modern, classic-calm, light-natural). Use them to filter every material and color choice.
- Maintenance preferences: Low-fuss surfaces vs. high-gloss statements; grout sizes you’re willing to clean; hardware that hides fingerprints.
- Schedule realities: Work-from-home windows for noisy work, school terms, or travel dates that influence installer access.
Measure utilities and structure once
Accurate measurements are the backbone of your plan. Capture the kitchen and bathroom with the same standard so trades can coordinate.
- Room shell: Wall-to-wall widths and lengths; ceiling heights at multiple points; window and door sizes and swing directions.
- Fixed obstacles: Bulkheads, beams, radiators, floor vents, sloped ceilings, low windowsills.
- Utilities map: Water supply and drains, vent stacks, electrical panel capacity, dedicated circuits, HVAC runs, exhaust paths.
- Floor levels: Check for out-of-level floors or walls to adjust cabinet plinths and tile layout.
- Existing openings: Plumbing rough-ins and appliance cutouts; note what can move and what is best left in place to save cost and time.
Put the measurements into simple scaled drawings. Even a basic 2D plan helps you test appliance sizes, cabinet runs, and fixture clearances before committing.
Choose kitchen layout by workflow
Layouts should shorten the distance between prep, cook, and clean while creating safe traffic paths. Use the following principles to pick a format that fits your shell and habits.
- Triangle or zones: Whether you use the classic work triangle or a zoned approach (prep, cooking, baking, coffee, cleanup), protect clear counter runs between steps.
- Landing areas: Keep at least a forearm’s worth of clear counter beside the fridge, range, and sink for unloading and hot items.
- Traffic flow: Avoid major walkways crossing the cooking zone. If the kitchen is a hallway, use an induction cooktop and deeper counter on that side.
- Appliance right-sizing: Scale appliances to your space and cooking style. A smaller, high-performance range can free counter space for prep.
- Island purpose: Decide whether the island is for prep, seating, or both. If seating, overhang depth and legroom shape the island’s size and storage beneath.
Plan bathroom layout for comfort and clearances
Bathrooms feel peaceful when fixtures have breathing room and storage sits where you naturally reach.
- Door strategy: Pocket or outswing doors protect small rooms from fixture clashes.
- Wet vs. dry zones: Keep towels, power outlets, and storage on the dry side; isolate the shower/toilet on the wet side where possible.
- Shower choices: A walk-in shower with a linear drain simplifies use and cleaning; niches should align with tile patterns and sit away from direct spray.
- Vanity ergonomics: Match countertop height to users; reserve a top drawer for daily items; give hair tools a heat-safe bin with cable access.
- Ventilation priority: Route a quiet, effective exhaust to the exterior and place the intake near the shower to capture steam quickly.
Unify style with a two-tier palette
To make both rooms feel related without looking repetitive, organize finishes into a primary palette and an accent palette.
- Primary palette: Cabinet finish, major tile, and countertop color family. Use these across both rooms for continuity.
- Accent palette: Hardware, lighting metal, mirror frames, and small-format tile or paint. Adjust these to add character per room.
- Texture rhythm: If the kitchen uses a matte stone, consider a soft-sheen tile in the bath; if you choose ribbed glass in the bath, echo fluting in a kitchen panel or hutch door.
- Grout and caulk: Pick grout tones that hide soil where needed; use color-matched silicone at change-of-plane joints for longevity.
Select durable materials for moisture and heat
Kitchens and bathrooms demand finishes that handle splashes, steam, and frequent cleaning. Build your shortlist around resilience and care needs.
- Countertops: Choose a surface that resists stains, heat, and abrasion for the kitchen; in baths, prioritize stain resistance and easy cleaning around toiletries.
- Cabinet construction: Look for moisture-resistant boxes in wet zones; specify sealed edges and quality hardware for long-term alignment.
- Tile: Larger formats reduce grout maintenance; textured floors add grip in wet areas; use proper underlayments to prevent movement and cracked grout.
- Wall protection: Extend backsplash behind sinks and cooktops; in baths, consider full-height wet-wall tile to simplify cleaning.
- Fixtures and fittings: Select valves and drains with serviceable parts; favor anti-scald protection in showers.
Build storage that supports daily habits
Storage works best when it follows your morning and evening routines and keeps counters as clear as possible.
- Kitchen access: Place everyday plates, bowls, and glasses between waist and shoulder height; reserve deep drawers for pots and pans near the cooktop.
- Task-specific pull-outs: Vertical trays for cutting boards, a narrow pull-out for spices near the range, and a trash/recycling center close to prep.
- Pantry planning: Mix deep shelves for bulk goods with shallow pull-outs for cans and jars so labels face forward.
- Bathroom zoning: Keep daily grooming items in the top vanity drawer, backup items in the base cabinet, and linens in a tall cabinet or nearby hall closet.
- Charging and power: Add hidden outlets inside a drawer or cabinet for toothbrushes and hair tools; in the kitchen, a charging nook keeps cords off the counter.
Layer lighting for task and mood
Lighting is where design and function truly meet. Use layers to control glare, shadows, and atmosphere.
- Ambient: Even, low-glare ceiling lighting sets the base level. In small baths, a single great ambient source can make the room feel larger.
- Task: Under-cabinet lights for prep counters; at the vanity, flank the mirror with lights at face height for shadow-free grooming.
- Accent: Toe-kick or cove lighting doubles as a safe night light; a pendant over the island or bathtub (observing safe clearances) adds focus.
- Controls: Scene-based dimmers let you move from bright-cleaning mode to evening-relax mode without rewiring each fixture individually.
Ventilation and moisture management
Moisture and cooking effluent shorten the life of finishes. Address them head-on for both rooms.
- Kitchen hood sizing and ducting: A well-ducted hood that actually vents outdoors captures steam, grease, and odors more effectively than recirculating options.
- Bathroom exhaust: Choose a quiet fan sized to the room volume and duct it directly outside; run it during and after showers to prevent condensation.
- Air gaps and seals: Leave discreet ventilation space around appliances and seal wet-area penetrations to keep moisture out of cabinets and walls.
Sequence the project to reduce disruption
When you design kitchen and bathroom at once, you can phase the build to keep daily life moving.
- Finalize drawings and selections for both rooms before demo. This lets you order long-lead items together.
- Prepare a temporary plan: A mini kitchen zone with a portable cookplate and a sink alternative; a backup bath arrangement if possible.
- Do the loud and dusty work first: Demo, framing, leveling, rough plumbing, and electrical in both rooms while barriers are in place.
- Close walls as a set: Insulation, drywall, waterproofing, and priming happen together to streamline trades.
- Tile and flooring: Start with wet areas, then move to dry; protect finished floors immediately after installation.
- Cabinetry and tops: Install cabinets square and level; template and fit counters; leave room for expansion joints where needed.
- Fixtures and trim: Set appliances, sinks, faucets, mirrors, and hardware; test every valve and shut-off before final caulk.
- Commissioning and punch list: Run fans, hoods, and GFCI outlets; check doors and drawers; seal grout joints that need touch-ups.
Small spaces: five smart moves
Compact kitchens and baths can feel generous with the right details.
- Light, continuous flooring: Using one material across connected areas reduces visual breaks.
- Mirror strategy: Large, well-placed mirrors expand sightlines; frame them to match your hardware metal.
- Shallow storage: 12–15 inch-deep cabinets keep corridors clear while holding tableware and bath linens efficiently.
- Glass on the light side: A clear shower panel rather than a curtain carries light to the back of the room.
- Vertical thinking: Stack storage up high and keep daily items in the best reach zone to avoid countertop clutter.
Universal use and safety considerations
Good design is inclusive design. A few thoughtful choices make both rooms more comfortable for everyone.
- Floor traction: Favor slip-resistant tile for wet zones; use larger formats with a subtle texture for easier cleaning.
- Shower access: A low or curbless entry reduces trip points and simplifies maintenance.
- Clearances and reach: Keep frequently used items between mid-thigh and shoulder height; prefer drawers over deep shelves for easy access.
- Lighting controls: Place dimmers at entries; add motion-activated night lighting along toe kicks or baseboards.
- Water temperature: Thermostatic shower valves help avoid sudden temperature changes.
Budget checks that protect the plan
Coordinating two rooms does not have to double the stress. Use clear budget controls to keep confidence high.
- Bundle by category: Group cabinets, counters, tile, and fixtures for both rooms so you can trade up in one area and balance in another.
- Prioritize touchpoints: Spend where your hands and eyes interact daily—faucets, hardware, drawers, and lighting controls.
- Plan long-lead items early: Appliances, custom cabinets, specialty tile, and glass can govern the schedule; order them after final drawings.
- Reserve a contingency: Hold a buffer for hidden conditions uncovered during demo.
- Track change impacts: Any field change should note cost, lead time, and downstream effects before you say yes.
Common mistakes to avoid
- Overlooking power and ventilation: Beautiful spaces fail quickly without adequate circuits and proper exhaust routing.
- Ignoring door swings and clearances: A drawer that collides with a dishwasher or shower door is more than an annoyance—it shortens hardware life.
- Choosing high-maintenance grout and finishes in high-use zones: Match material care needs to your tolerance for upkeep.
- Forgetting landing space: Every major appliance and the vanity needs adjacent surface area.
- Leaving lighting until the end: Pre-plan circuits and scenes; it’s hard to add task lighting gracefully after cabinets and tile are set.
Care and longevity essentials
A little foresight during design simplifies years of use.
- Sealing strategy: Follow manufacturer guidance for sealing stone and grout lines where applicable; record the schedule in your home manual.
- Service access: Keep shut-off valves accessible; allow access panels for key plumbing and electrical points.
- Spare materials: Store a few extra tiles, hardware pieces, and a small paint pot for future touch-ups.
- Cleaning kits: Specify compatible cleaners for counters, tile, and fixtures to avoid etching or dulling finishes.
FAQs
Is it better to renovate the kitchen or bathroom first?
If you can plan both together, schedule the loud structural work (demo, rough plumbing, and electrical) for both at the same time, then tile and cabinets. If you must choose one, consider which space has a workable temporary setup. Many households find a temporary kitchen easier to arrange than a temporary bathroom.
How do I keep a consistent look without making the rooms identical?
Use a shared primary palette (cabinet tone, major tile family, and metal finish) across both rooms, then vary accents. For example, keep the same cabinet color and hardware family, but switch the bathroom’s wall tile pattern or introduce a different pendant style in the kitchen.
What lighting is non-negotiable?
Under-cabinet task lighting in the kitchen and face-height lighting at the bathroom mirror are the two upgrades that dramatically improve daily function. Pair them with dimmable ambient lighting so you can shift between bright cleaning light and soft evening light.
Which surfaces are easiest to maintain in wet areas?
Larger-format, low-porosity tiles reduce grout maintenance on floors and wet walls. For counters, select a non-porous or sealed surface that resists stains from cosmetics in the bath and oils/acids in the kitchen. Always follow the manufacturer’s care guidance.
How can I add storage without crowding small rooms?
Use shallow-depth cabinets, tall linen towers, and drawer-based storage instead of deep shelves. In the kitchen, prioritize drawers for pots and pans and narrow pull-outs for spices and trays. In the bathroom, keep daily items in the top drawers and reserve bulk storage for a nearby hall cabinet if floor space is tight.