Backsplash Installation Checklist: What to Confirm Before, During, and After Installation
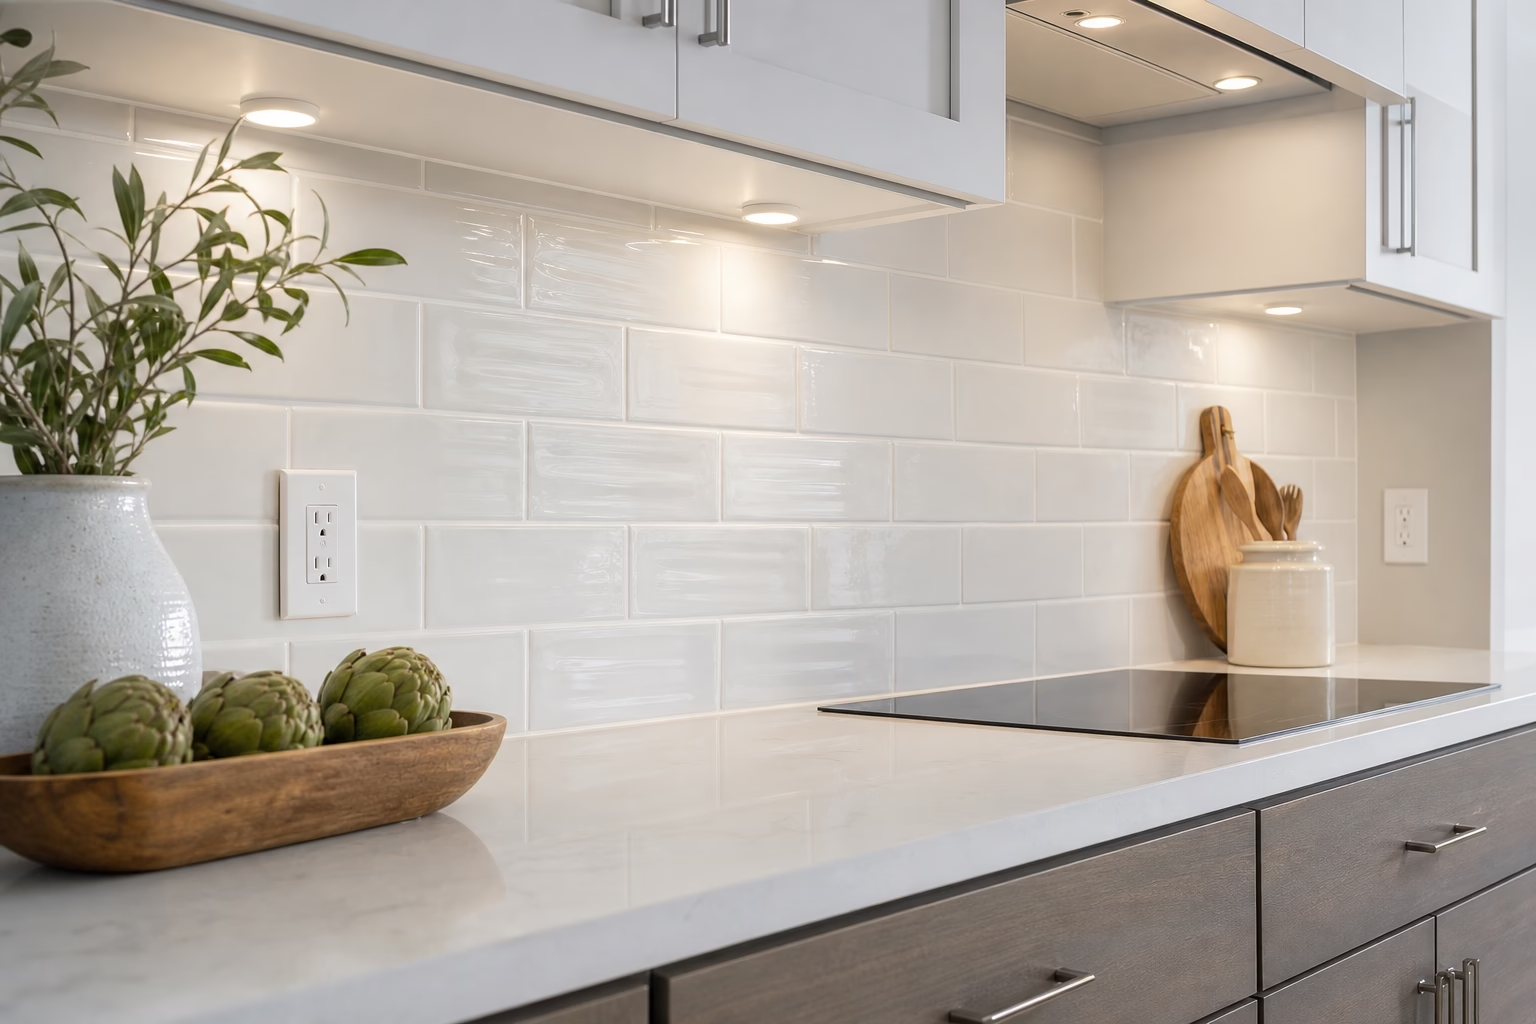
A successful kitchen backsplash installation depends on more than choosing attractive tile. Before adhesive is applied, confirm the wall condition, measurements, layout, outlet coordination, materials, and written scope. The final inspection matters just as much because uneven lines, unfinished edges, poor grout joints, and gaps at transitions can be difficult to correct later.
Use this backsplash installation checklist for a DIY project or when comparing professional installers in Brampton and across the GTA. It follows the work from initial planning through final inspection and focuses on decisions that commonly cause rework or unexpected costs.
Before You Request a Quote or Buy Materials
Define the area that will actually be tiled. A backsplash may run from the countertop to the underside of upper cabinets, but boundaries often change around a range hood, open shelving, windows, pantry cabinets, or a full-height feature wall. Photograph the wall and note where the countertop, cabinets, appliances, and outlets meet.
Measure every surface
- Measure the width and height of each wall section.
- Record windows, outlets, switches, corners, and appliance gaps.
- Check whether the countertop is level and cabinets are aligned.
- Identify areas that need tile behind or beside appliances.
- Calculate the tile area and add a sensible allowance for cuts, breakage, pattern matching, and future repairs.
Do not order from one rough measurement when the backsplash has several sections or a directional pattern. Tile format, layout, corners, and the number of cuts all affect the required quantity. Ask the installer to confirm the quantity before purchase.
Choose visual details early
Confirm the tile format, orientation, pattern, grout colour, edge treatment, and transition points. Subway tile, stacked layouts, herringbone, large-format tile, and mosaic sheets create different cutting and alignment requirements.
Decide how tile will finish at exposed sides, inside corners, windows, and the underside of cabinets. Options may include finished tile edges, coordinating trim, or a planned transition to painted drywall. Leaving these decisions until installation day can result in rushed substitutions.
Confirm the Written Scope, Price, and Responsibilities

A quote should describe more than “install kitchen tile.” Request an itemized scope identifying what will be removed, repaired, supplied, installed, cleaned, and disposed of. Transparent, tailored pricing is a useful standard when comparing backsplash installers.
- Demolition and removal of an existing backsplash.
- Wall repairs, preparation, priming, or substrate replacement.
- Tile, adhesive or mortar, spacers, grout, caulk, and trim.
- Cuts around outlets, cabinets, windows, corners, and appliances.
- Outlet or fixture coordination.
- Protection for countertops, cabinets, floors, and appliances.
- Cleanup, debris removal, and disposal.
- Homeowner-supplied materials, exclusions, upgrades, and change orders.
- Payment milestones and final-payment conditions.
In Ontario, home renovation contracts worth more than $50 must be in writing. Provincial guidance also addresses electrical contractor licensing, estimates, permit fees, and inspection considerations when electrical work is involved. Review the requirements with your contractor and confirm electrical questions with the appropriate qualified professional. Ontario’s home renovation guidance explains these considerations.
Wall and Countertop Preparation Checklist
Tile does not correct an unstable or badly uneven wall. Assess the surface for loose paint, grease, dust, old adhesive, moisture damage, cracks, and significant waves. Preparation depends on the existing surface and selected tile system, so do not assume every wall can be treated identically.
- Remove loose paint, wallpaper, adhesive, and poorly bonded material.
- Clean grease and cooking residue, especially behind a range or cooktop.
- Repair holes, cracks, and damaged drywall where appropriate.
- Check that the wall is sufficiently flat for the tile and adhesive.
- Investigate moisture or water damage instead of covering it.
- Confirm that countertop and cabinet lines provide reliable references.
- Protect finished surfaces before sanding, cutting, or applying adhesive.
If the wall needs extensive repair, shows moisture damage, or has an uncertain substrate, pause and obtain an assessment. Covering the problem can lead to loose tile, cracked grout, and repeated failure.
Materials and Tools Checklist
Confirm who supplies each item. A homeowner may purchase the tile while assuming the installer provides trim, grout, spacers, or specialty adhesive. That assumption can create delays or lead to incompatible materials.
- Tile and the confirmed quantity, including the agreed allowance.
- Adhesive or mortar suitable for the tile, surface, and conditions.
- Spacers or a planned joint width.
- A tile cutter or wet saw suitable for the material.
- A level, straightedge, measuring tools, pencil, and reference-line tools.
- Grout and flexible caulk or sealant for transitions.
- Edge trim or another agreed treatment for exposed edges.
- Drop cloths, surface protection, buckets, sponges, and cleanup materials.
- Outlet plates, boxes, or extensions if finished wall depth affects fit.
Keep product instructions, batch information, receipts, and unused pieces. They can help with future repairs or matching.
Layout and Electrical Coordination
Complete a dry layout before applying adhesive. Place tile or sheets on the wall, floor, or a measured template to see where full tiles, cuts, corners, and pattern changes will fall. Check visible areas first, especially behind the sink, range, and open shelving.
A good layout generally avoids narrow slivers at visible edges and keeps lines consistent with countertops, cabinets, and focal points. Mark reference lines and confirm the plan before installation rather than assuming the countertop is perfectly straight.
Confirm outlet positions relative to tile, grout joints, cover plates, and finished wall depth. Do not improvise electrical changes during tiling. Electrical work connected with a renovation may involve ESA licensing, permits, and inspection considerations in Ontario, so coordinate it with the appropriate qualified professional before work begins.
The Installation Sequence: Tile, Grout, and Caulk
Follow manufacturer instructions for products and curing times. In general, the work proceeds as follows:
- Protect the room. Cover countertops, cabinets, floors, and nearby appliances.
- Prepare the wall. Clean, repair, and prime or seal the surface as required.
- Mark reference lines. Confirm the layout, cut locations, corners, and outlet positions.
- Apply adhesive correctly. Use the recommended trowel and work within the product’s working time.
- Set and align tile. Maintain consistent joints and check level frequently.
- Make controlled cuts. Measure around outlets, corners, cabinets, and windows, then dry-fit pieces.
- Allow curing. Follow the adhesive’s required waiting period before grouting.
- Apply grout. Fill joints fully and clean haze without washing grout out.
- Caulk transitions. Use flexible caulk at countertops, inside corners, and other movement-prone transitions where required.
Grout and caulk serve different purposes. Grout fills tile-to-tile joints, while caulk accommodates movement at transitions. Replacing every transition with grout can increase cracking risk.
Final Inspection Checklist
Inspect the backsplash in good light before approving the work or making final payment.
- Tile courses are level and the pattern is consistent.
- Joint widths are reasonably uniform and grout is fully packed.
- Cuts around outlets, cabinets, windows, and corners are clean.
- Exposed edges have the agreed trim or finish.
- No tiles are loose, cracked, chipped, or visibly damaged.
- Grout haze, adhesive, and construction dust are removed.
- Caulk is continuous, neatly tooled, and present at agreed transitions.
- Outlet covers and fixtures sit correctly against the finished wall.
- Countertop and cabinet joints are clean and complete.
- Unresolved items and corrections are recorded in writing.
DIY or Professional Installation: Which Fits Your Project?
| DIY may suit you when | Professional installation is more suitable when |
|---|---|
| The wall is sound, flat, clean, and accessible. | The substrate is damaged, uneven, contaminated, or affected by moisture. |
| The backsplash is small with a straightforward pattern. | The layout includes herringbone, mosaics, large-format tile, corners, or feature areas. |
| You have suitable cutting, leveling, and protection tools. | You need precise cuts around outlets, cabinets, or expensive materials. |
| You can allow time for preparation, curing, grouting, and cleanup. | The backsplash is part of a larger renovation with several trades. |
| You are comfortable correcting mistakes. | Rework could damage cabinetry, countertops, appliances, or electrical components. |
DIY can suit a simple wall when you understand the product instructions and have planned the layout. Professional help is more valuable when surface preparation, precision, electrical coordination, or finish quality creates the main risk. If comparing tile installation services, ask how the installer handles preparation, layout approval, edge finishing, outlets, grout, caulk, cleanup, and change orders.
Common Backsplash Mistakes to Avoid
- Ordering before measuring: Multiple sections and patterned tile require careful quantity planning.
- Skipping the dry layout: Early adjustments prevent awkward slivers and mismatched corners.
- Tiling over a poor surface: Loose paint, grease, moisture, and unevenness undermine the installation.
- Forgetting finished wall depth: Outlets and cover plates may not fit correctly afterward.
- Leaving exposed edges undecided: Attractive tile can look incomplete without deliberate edge treatment.
- Using grout at every transition: Changes of plane often need flexible caulk.
- Accepting a vague quote: Missing preparation, material, cleanup, upgrade, or payment details can create disputes.
- Inspecting too late: Review the work before final sign-off while corrections remain practical.
Backsplash Installation Checklist FAQ
How much extra backsplash tile should I buy?
The allowance depends on tile size, pattern, corners, cuts, breakage risk, and whether replacement pieces should be retained. Have the installer confirm the quantity and keep unused pieces.
Should outlets be removed before backsplash installation?
Coordinate outlet work before tiling, but do not remove or alter electrical components casually. Confirm the plan with a qualified professional, including how finished tile depth affects boxes and cover plates.
Where should backsplash tile meet the countertop and cabinets?
Confirm stopping points at the countertop, cabinet underside, windows, and exposed sides before installation. Use a level reference line rather than assuming the countertop is perfectly straight.
Do I need grout or caulk at the countertop joint?
Grout fills tile-to-tile joints, while flexible caulk is commonly used at changes of plane or movement-prone transitions. Follow the selected installation system and product instructions.
What should a backsplash installation quote include?
It should identify preparation, demolition, materials, cuts, edge treatment, outlet coordination, grout, caulk, protection, cleanup, disposal, exclusions, upgrades, change orders, and payment milestones.
When should I hire a professional backsplash installer?
Choose professional help when the wall needs substantial preparation, the tile is difficult to cut, outlets require coordination, the backsplash is part of a larger renovation, or mistakes would be expensive.
Make the Backsplash Measurable and Coordinated
A useful backsplash installation checklist is a decision tool, not just a shopping list. Measure every section, inspect the wall, confirm layout and edge details, coordinate outlets, distinguish grout from caulk, and put scope and payment expectations in writing.
For a small, straightforward project, a prepared homeowner may be comfortable doing the work. For damaged surfaces, complex patterns, specialty tile, electrical coordination, or a broader kitchen renovation, professional installation can reduce rework risk. Altima Kitchens And Closets provides kitchen renovation and tile installation services in Brampton and throughout the GTA, with tailored solutions, transparent pricing, and in-house design and installation.
To discuss a backsplash or broader kitchen renovation project, visit Altima Kitchens And Closets.
Related Posts

Why Choose Kitchen Renovation Company
Nowadays, Kitchen spaces are not only a place for cooking and serving food, but these areas act as a statement, as they speak a lot about a family, the philosophy and personality of individuals, and spaces. If you admire aesthetics and adorn the beauty of your home, you must pay attention to the interior design […]
How a Kitchen Renovation Contractor is Changing the Game
Lifestyle is all about bringing something coherent to the overall experience of living. The kitchen and closets stand as two of the most influential spaces in a home that add to the overall experience of living. A Kitchen Renovation Contractor in Whitby by the name of Altima Kitchen and Closets Inc. is changing the overall […]
How Media unit contractor in Whitby is Changing the Game
Lifestyle is all about bringing something coherent to the overall experience of living. The kitchen and closets stand as two of the most influential spaces in a home that add to the overall experience of living. A Media Unit Company in Whitby by the name of Altima Kitchen and Closets Inc. is changing the overall […]