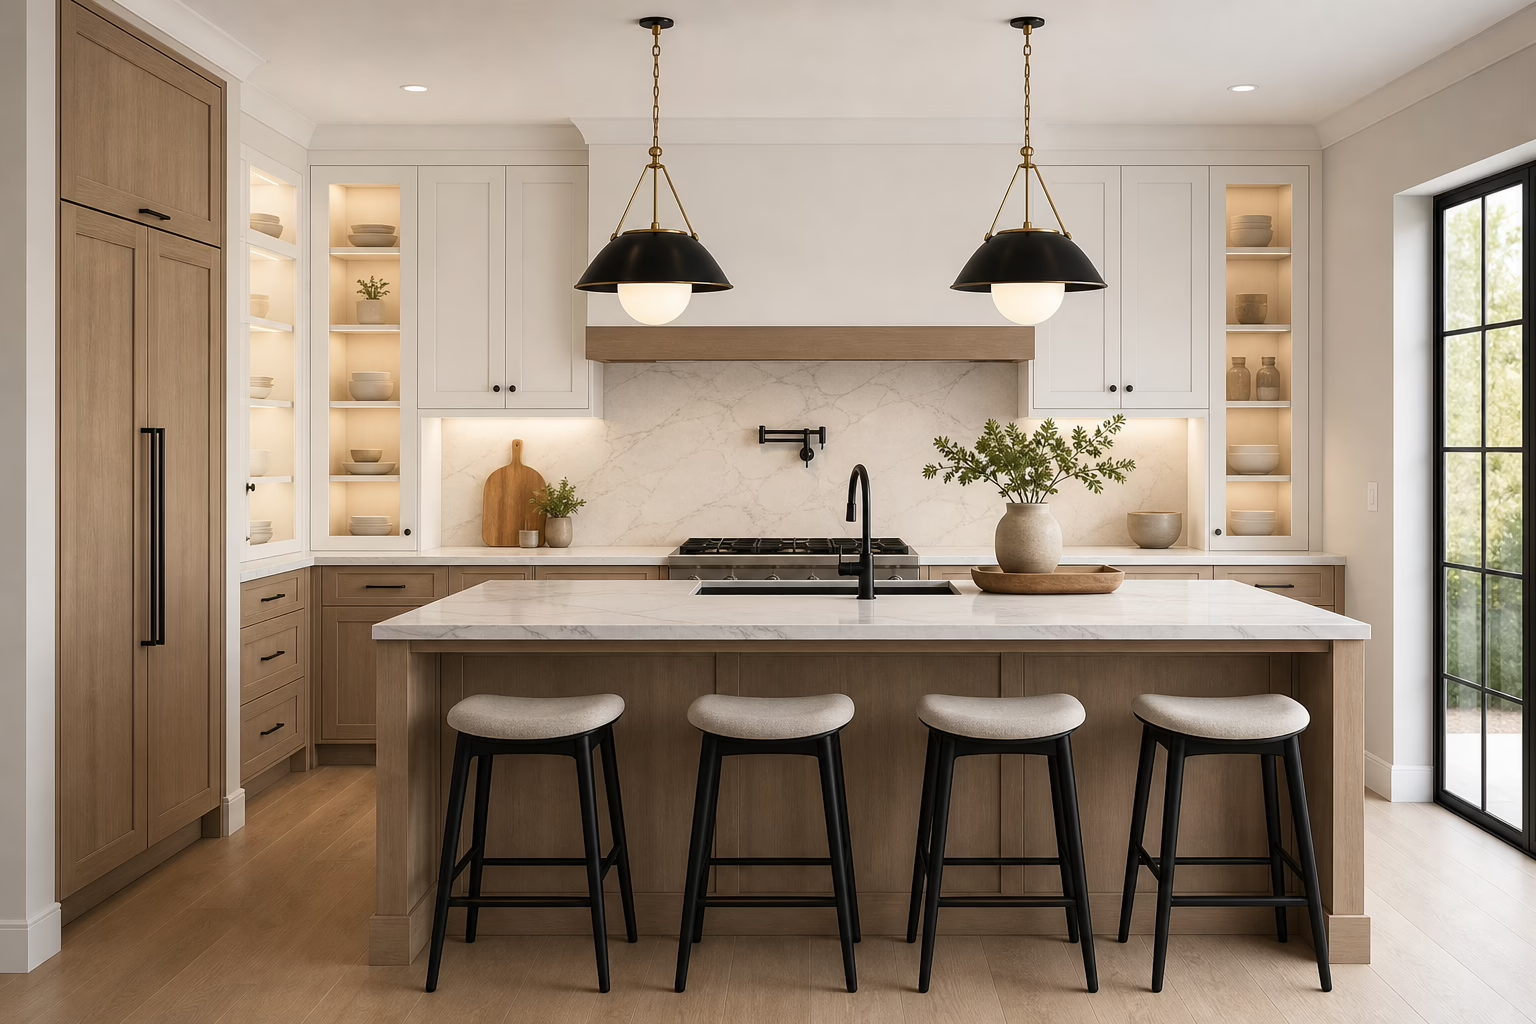
If you’re gearing up for a kitchen reno, the most valuable work you can do happens before a single cabinet comes off the wall. Clear decisions made early—on layout, scope, materials, and sequencing—help you avoid rushed choices, change orders, and weeks of preventable delays. Use the frameworks, checklists, and timelines below to move from vague ideas to a build-ready plan.
Define your scope
Before comparing finishes or browsing door styles, lock the project scope. Scope determines timeline, cost structure, trade involvement, and the risk of mid-stream changes. Consider these common scope levels:
- Refresh: cosmetic updates such as paint, new hardware, a faucet swap, and lighting changes without moving utilities or cabinets.
- Pull-and-replace: new cabinets, countertops, backsplash, sink, and fixtures in roughly the same layout; may include appliance upgrades.
- Reconfigure: layout changes (e.g., moving the range or sink), partial wall adjustments, added island/peninsula, and updated electrical and plumbing runs.
- Full remodel: structural changes, major layout moves, flooring transitions, and comprehensive mechanical, electrical, and plumbing updates.
Pick the least intense scope that still solves your everyday pain points. If a refresh won’t fix prep-space bottlenecks or poor appliance placement, you’ll pay twice—once now and again later.
Map your layout
Great kitchens feel natural to use because distances, sightlines, and clearances were planned up front. Focus on these fundamentals:
- Work zones: prep, cooking, cleaning, and storage should be distinct but connected. Keep knives, cutting boards, trash, and compost within a step or two of the main prep area.
- Sink, range, and fridge: ensure comfortable paths between these anchors. Straight-line runs can work in smaller spaces, while L, U, or island layouts support multiple users.
- Clearances: leave sufficient aisle space for doors, drawers, and multiple people passing. Check island size against walkways and appliance swing.
- Landing zones: keep a set-down surface near the oven, fridge, and sink to make unloading and hot-pan management safe and easy.
Sketch your current kitchen and annotate what frustrates you. Then sketch a proposed layout that removes those friction points without creating new ones.
Prioritize storage that works
Storage quality matters more than sheer quantity. Aim for fast access, ergonomic motion, and logical grouping.
- Everyday reach: place plates, bowls, cups, and cutlery near the dishwasher and sink for quick unloading.
- Vertical organization: use dividers for sheet pans, trays, and cutting boards; add pull-outs in narrow gaps for oils and spices.
- Corner solutions: consider turntables or dedicated corner drawers so you’re not storing air.
- Zone-specific drawers: group knives, mixing tools, and wraps where you prep; keep oven mitts and probes by the range.
- Pantry clarity: mix adjustable shelving with a few drawers or roll-outs to prevent items from disappearing behind others.
Do a 7-day audit: list everything you reach for. If an item is used daily, it deserves prime real estate between waist and shoulder height.
Select surfaces and finishes
Your choices should balance durability, maintenance, and style. Decide early to align fabrication and lead times.
- Cabinet construction: match materials and finishes to your use patterns and cleaning habits.
- Countertops: choose based on stain, heat, and scratch tolerance; also consider edge profiles and overhangs for seating zones.
- Backsplash: treat it as a functional surface first—easy to wipe, with outlets planned to minimize visual clutter.
- Flooring: think spill resistance, comfort underfoot, and transitions to adjacent rooms.
- Hardware and fixtures: test handles and faucets for grip, reach, and cleaning effort; small touches change daily experience.
Collect a compact palette: one primary cabinet tone, a secondary accent (optional), one counter, one backsplash, and one flooring. Tight palettes make decisions faster and results more cohesive.
Plan appliances and utilities together
Appliance dimensions, venting needs, and electrical loads drive the technical side of a kitchen reno. Lock these details before drawings are finalized:
- Exact models and dimensions: confirm width, height, depth, door swing, and required clearances.
- Venting and make-up air considerations: match hood capacity to cooking style; plan duct routes early.
- Power and water: map circuits, dedicated outlets for high-draw appliances, and any water lines for fridges or coffee systems.
- Integrated panels: if you want paneled appliances, ensure cabinet specs match the appliance manufacturer’s panel requirements.
When utility plans change after cabinets are ordered, rework compounds fast. Decide once and build around it.
Light the layers
Good lighting blends ambient, task, and accent sources:
- Ambient: ceiling fixtures or recessed lights for general illumination. Dimmer control helps day-to-night transitions.
- Task: under-cabinet lighting along prep runs to remove shadows and improve safety.
- Accent: pendants over islands, toe-kick or cabinet-interior lighting for definition and visibility.
Place switches where your hand naturally goes when entering the kitchen. Label circuits clearly; future you will be grateful.
Sequence the work
A clear sequence reduces downtime and keeps trades from stepping on each other’s toes. A typical order of operations looks like this:
- Finalize design decisions and appliance selections.
- Order long-lead items like cabinets, custom doors, and certain fixtures.
- Site protection, demo, and haul-away.
- Rough-in work: framing adjustments, electrical, plumbing, HVAC, and venting.
- Inspections where applicable.
- Close-up and drywall; priming.
- Flooring (if running wall-to-wall beneath cabinets) or after cabinets (if floating floors).
- Cabinet installation and trim.
- Countertop templating, fabrication, and installation.
- Backsplash and finishing tile work.
- Appliance set-in, plumbing trims, electrical trims, and final lighting.
- Caulking, paint touch-ups, and hardware adjustments.
- Final clean and walkthrough.
Two checkpoints keep things smooth: a post-rough-in review (to confirm outlet and plumbing locations) and a pre-template review (to confirm cabinet alignment and support for counters).
Budget with buffers
Budget pressure in a kitchen reno usually comes from late changes and items people forget to include. Build a budget with planned flex:
- Allocations by category: cabinets, counters, appliances, plumbing fixtures, lighting, flooring, tile, trades, and contingencies.
- Contingency: hold a modest reserve for hidden conditions or warranted design tweaks.
- Scope discipline: if an upgrade goes in, something else should come out or the contingency shrinks accordingly.
- Transparent tracking: keep an itemized sheet updated after each decision so there are no surprises.
Think in ranges, not single-point numbers. Ranges keep decisions flexible while you balance look, function, and timing.
Measurements and checklists
Accurate measurements prevent most install headaches. Use this quick capture list before final drawings:
- Room dimensions: length, width, ceiling height, and any drops or soffits.
- Openings: windows and doors with trim, sill heights, and swing direction.
- Fixed elements: radiators, structural posts, bulkheads, vents, and chases.
- Mechanical and electrical: current outlet locations, circuits, shutoffs, and vent positions.
- Appliance cut sheets: confirm all spec sheets match your intended models.
Also keep a decisions log: each time you finalize a choice (finish, handle, light, switch location), record the product, quantity, lead time, and who is supplying it.
Avoid common pitfalls
Most issues trace back to a handful of avoidable missteps:
- Ordering late: long-lead items should be ordered before demo to avoid a stop-start build.
- Uncoordinated appliances: panel-ready and counter-depth units require tight planning; verify specs twice.
- Insufficient outlets: plan for mixers, toasters, coffee machines, and charging needs without overloading single circuits.
- Oversized islands: beautiful, but not if they choke circulation or limit fridge and oven access.
- Task-light shadows: mount under-cabinet lights toward the front to illuminate the counter, not the backsplash.
- Forgetting seating ergonomics: allow knee clearance, proper overhangs, and foot room at islands.
Schedule brief but frequent check-ins around milestones. A 15-minute review usually prevents a 5-hour rework.
Timeline planning
Even well-run projects can be disrupted by backorders or discoveries behind walls. Build resilience into your plan:
- Decision freeze: no design changes after rough-in unless you accept impacts to time and budget.
- Staging: keep a clean, dry, secure area for storing delivered materials to prevent damage and missing parts.
- Parallel prep: while counters are fabricated, finalize backsplash layout and confirm grout and trim pieces.
- Final week buffer: reserve time for adjustments and touch-ups before move-in or major events.
Share a simple, date-based timeline with everyone involved. When all parties can see what’s next, coordination gets easier.
How to choose finishes faster
Decision fatigue kills momentum. Build a fast, confident path to your palette:
- Pick the countertop first; it often has the strongest pattern or texture.
- Choose a cabinet finish that supports the counter rather than competing with it.
- Select a backsplash that bridges cabinet and counter tones.
- Lock hardware and fixture finishes that echo or contrast intentionally.
- Test everything under your kitchen’s actual lighting, not just showroom lighting.
Take phone photos of samples together in your space. What looks perfect under one light may read differently at home.
Frequently asked questions
How do I know if I should reface or replace cabinets?
Start with cabinet boxes. If they’re square, solid, and in the right places, refacing can refresh the look. If the layout, storage, or box condition is lacking, full replacement is typically the better long-term move. Weigh the functional gains, not just appearance.
What should I lock before demolition?
Finalize layout, appliance models, cabinet drawings, lighting plan, and finish selections with documented measurements. Place orders for long-lead items and confirm delivery windows so rough-in work aligns with installation dates.
Where should I splurge and where can I save?
Splurge where your hands and eyes interact daily: hardware, faucet, work-surface lighting, and counters. Save with simpler door profiles, a focused palette, and tile formats that minimize cutting and specialty trims. Always protect contingency funds for the unexpected.
Do I need drawings if I’m not moving walls?
Scaled drawings help even in pull-and-replace scenarios. They coordinate appliance clearances, outlet placement, cabinet alignment, and lighting—reducing guesswork and ensuring consistent expectations across trades.
What’s the best way to keep the rest of the home livable?
Set up a temporary kitchen zone with a small work surface, microwave, kettle, and dish bin. Use dust barriers and floor protection, and agree on daily cleanup routines. Keep one entrance dedicated to material movement if possible.