Kitchen Upgrade Ideas: Boost Home Value in 2026
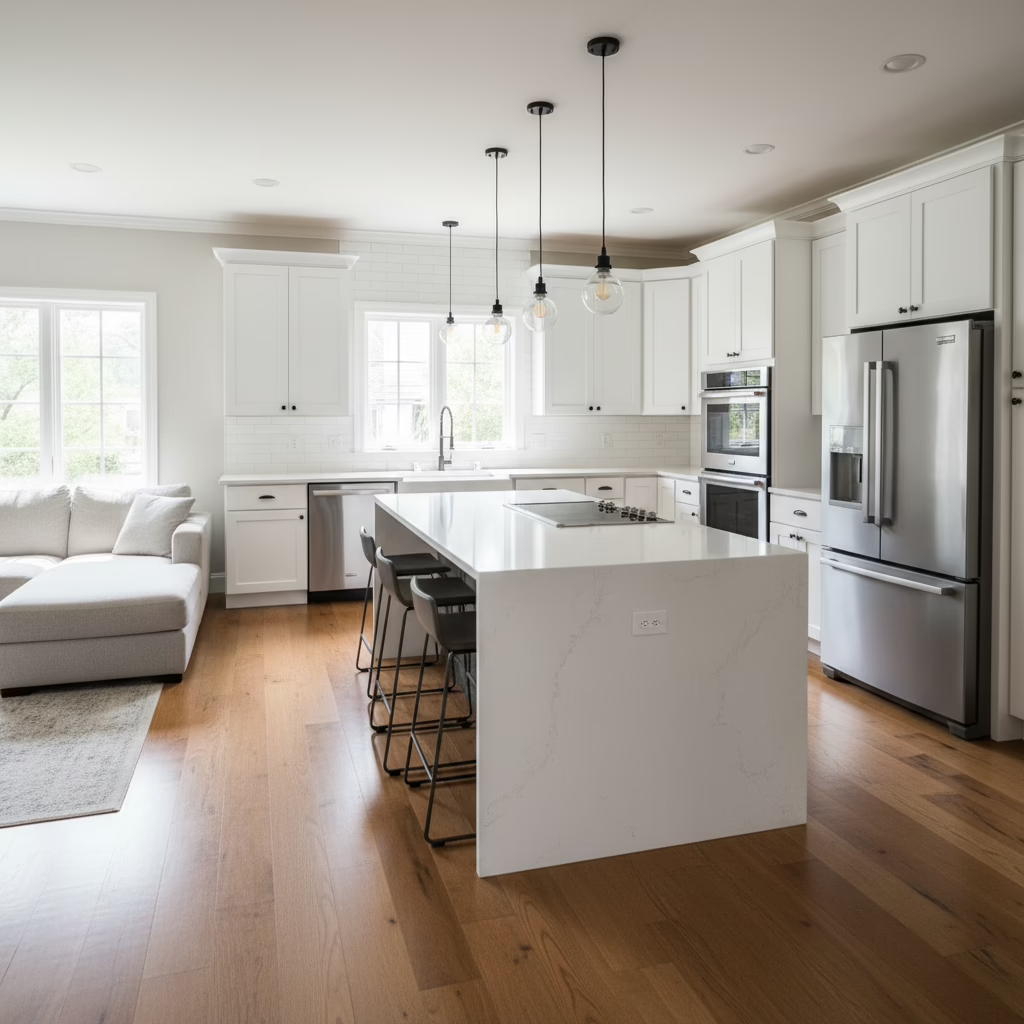
Kitchen remodel ideas before and after showcase how targeted upgrades transform a dated room into a high-functioning, beautiful hub. At Altima Kitchens and Closets in 11 Edvac Drive, we design-build these transformations end to end—from 3D design to factory-direct cabinetry—so you can visualize results and enjoy a seamless renovation.
By Ashok · Last updated: May 26, 2026
Above-Fold Summary & Table of Contents
This complete guide breaks down before-and-after kitchen remodel ideas you can actually use. You’ll see 12 proven transformations, how our design-build process works, the best materials and organizers, and GTA-specific tips. Use the quick table of contents below to jump to what matters most.
Remodels succeed when you align design vision, functionality, and build quality. Our in-house design, manufacturing, and installation keep every step coordinated, which minimizes disruption and delivers consistent workmanship.
- What counts as a before-and-after kitchen remodel?
- Why before-and-after planning matters
- How our design-build remodel process works
- 12 before-and-after kitchen remodel ideas
- Best practices for a stress-free renovation
- Tools, checklists, and resources
- Case studies and real-world examples
- Frequently Asked Questions
- Key takeaways and next steps
Overview
A strong kitchen transformation pairs smart space planning with durable materials and tidy storage. The result is a bright, ergonomic workspace that looks tailored and lives easy. This overview frames the journey so you can make confident, well-informed decisions at each stage.
In our experience across the Greater Toronto Area, the most successful renovations do three things well: improve flow, prioritize storage, and upgrade lighting. When those pillars come together with precise installation, the “after” feels brand new—even if the footprint stays similar.
You’ll also notice that small, high-impact changes—like refacing doors, swapping hardware, or adding under-cabinet lighting—often deliver dramatic visual gains without altering walls. That’s the power of targeted scope paired with expert execution.
What Is a Before-and-After Kitchen Remodel?
A before-and-after kitchen remodel is a planned transformation from an outdated, inefficient space to a modern, ergonomic, and visually cohesive kitchen. It’s documented with pre- and post-renovation photos and plans, highlighting better storage, lighting, finishes, and workflow.
At Altima, “before-and-after” isn’t just about photos—it’s about measurable improvements: clearer work zones, safer circulation, better task lighting, and storage that matches how you cook. We design with 2D plans and 3D renderings so you can preview proportions, colors, and accessories before a single cabinet is built.
Typical upgrades include new cabinet boxes or refacing, quartz countertops, backsplash installation, lighting layers, and organizers like a pull-out pantry or spice rack. Standard counter height targets about 36 inches for comfortable prep, and base cabinets are commonly around 24 inches deep—small details that shape daily use.
Why Before-and-After Planning Matters
Clear before-and-after planning keeps scope, selections, and timelines aligned. When design, materials, and installation live under one roof, you reduce coordination risks, avoid rework, and deliver a cohesive look with fewer delays.
Here’s the thing: most kitchens underperform not because of size but because of layout, lighting, and storage decisions made years ago. A structured plan—concept → 3D design → factory production → installation—ensures every update earns its place.
- Function first: Map your prep, cook, clean, and serve zones. Keep a clear path (about 36 inches) for circulation around islands or peninsulas.
- Lighting layers: Combine ambient (ceiling), task (under-cabinet), and accent (inside glass cabinets). Even illumination reduces shadows while prepping and cooking.
- Storage that moves: Pull-outs, corner solutions, and deep drawers can reveal up to a third more usable space than fixed shelves, simply by bringing items within reach.
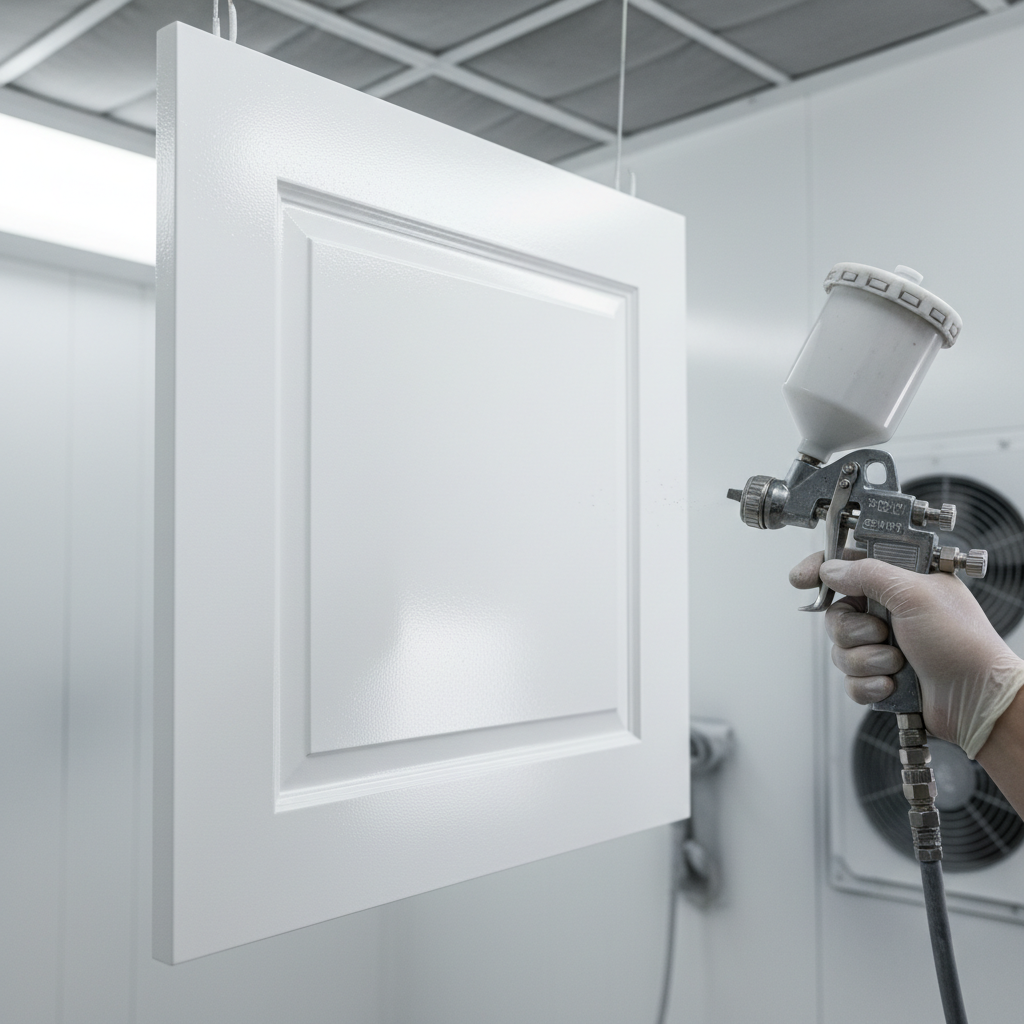
- Finish durability: Engineered quartz resists staining and daily wear, while a quality spray finish on MDF doors creates a smooth, uniform look.
- One accountable partner: With Altima’s design-build approach and factory-direct cabinetry, communication stays tight and decisions stay transparent.
Local considerations for 11 Edvac Drive
- Plan deliveries and installs with buffer time around peak GTA traffic; our in-house scheduling helps keep projects on track even during busy seasons.
- Winter remodels need clean entry staging to protect floors and maintain temperature for finishes; our crews set up dust control and protection on day one.
- Condos across the GTA often require permits and elevator bookings; our project managers coordinate approvals and site logistics to avoid delays.
For a deeper dive into planning, see our step-by-step approach in the plan a kitchen renovation guide, which aligns with the process you’ll see below.
How a Design-Build Kitchen Remodel Works
A successful remodel follows a clear sequence: discovery, design (2D/3D), material selections, factory manufacturing, site prep, professional installation, and final walkthrough. With Altima, one in-house team guides each milestone.
Our structured workflow minimizes handoffs and surprises. You’ll know what’s coming next—and why.
- Discovery and goals: We capture your wish list, pain points, appliance specs, and style direction.
- 2D space planning: Layout options address flow, storage, and safe clearances (aim ~36 inches around islands).
- 3D design preview: See door styles, colors, lighting, and counters virtually before you decide.
- Selections in one showroom: Cabinets, quartz, backsplash tile, hardware, organizers, and lighting—under one roof.
- Factory manufacturing: Italian CNC machining, precise drilling, and pro spray finishing deliver consistent quality.
- Site preparation: Dust protection, floor covering, and safe work zones keep homes livable during install.
- Installation & finishing: Cabinets, counters, backsplash, lighting, plumbing fixtures, and trim come together.
- Final walkthrough: We confirm fit, finish, and function, and share care guidelines for long-term performance.
This design-build sequence mirrors the approach in our efficient renovation guide and is proven across thousands of GTA homes.
Kitchen Remodel Ideas Before and After: 12 Transformations
These 12 before-and-after kitchen remodel ideas deliver dramatic results without guesswork. Choose quick-refresh upgrades like refacing and lighting, or plan bigger moves like layout updates. Each option pairs a clear “before” problem with a specific “after” improvement.
Use these scenarios as springboards. We tailor each to your footprint, cooking style, and storage needs in our 3D design phase.
1) Cabinet refacing for a fast visual reset
Before: Solid boxes, dated doors, mismatched hardware. After: New shaker or slab doors, modern pulls, uniform finish—showroom crisp. Factory spray finishing creates a smooth, durable surface many homeowners love.
- Pairs well with new hinges, soft-close slides, and crown molding.
- Consider adding one feature cabinet with ribbed glass for depth.
- For a primer on this route, see this cabinet refacing guide for general perspective.
2) New quartz countertops and undermount sink
Before: Scratched laminate, exposed sink rim. After: Durable engineered quartz with an undermount sink and clean edges. The smooth transition makes wipe-downs simple and elevates the whole room.
- Coordinate veining with backsplash tile for a cohesive palette.
- Standard counter height sits around 36 inches for ergonomic prep.
3) Backsplash with modern proportions
Before: Busy mosaics or stained drywall. After: Classic subway, large-format porcelain, or stone slabs with tight grout lines. A matte tile can reduce glare under task lights.
- Extend tile to the ceiling behind the range for a designer focal point.
- Accent with a rail for utensils if you cook daily.
4) Layered lighting that works hard
Before: One overhead light, harsh shadows. After: Recessed ambient light, under-cabinet task light, and pendant accents over the island. A tri-layer plan supports prep, cooking, and dining zones.
- Use warm-white LEDs in dining zones and neutral-white for tasks.
- Inside-cabinet lighting highlights display pieces or glass doors.
5) Pantry pull-outs and deep drawers
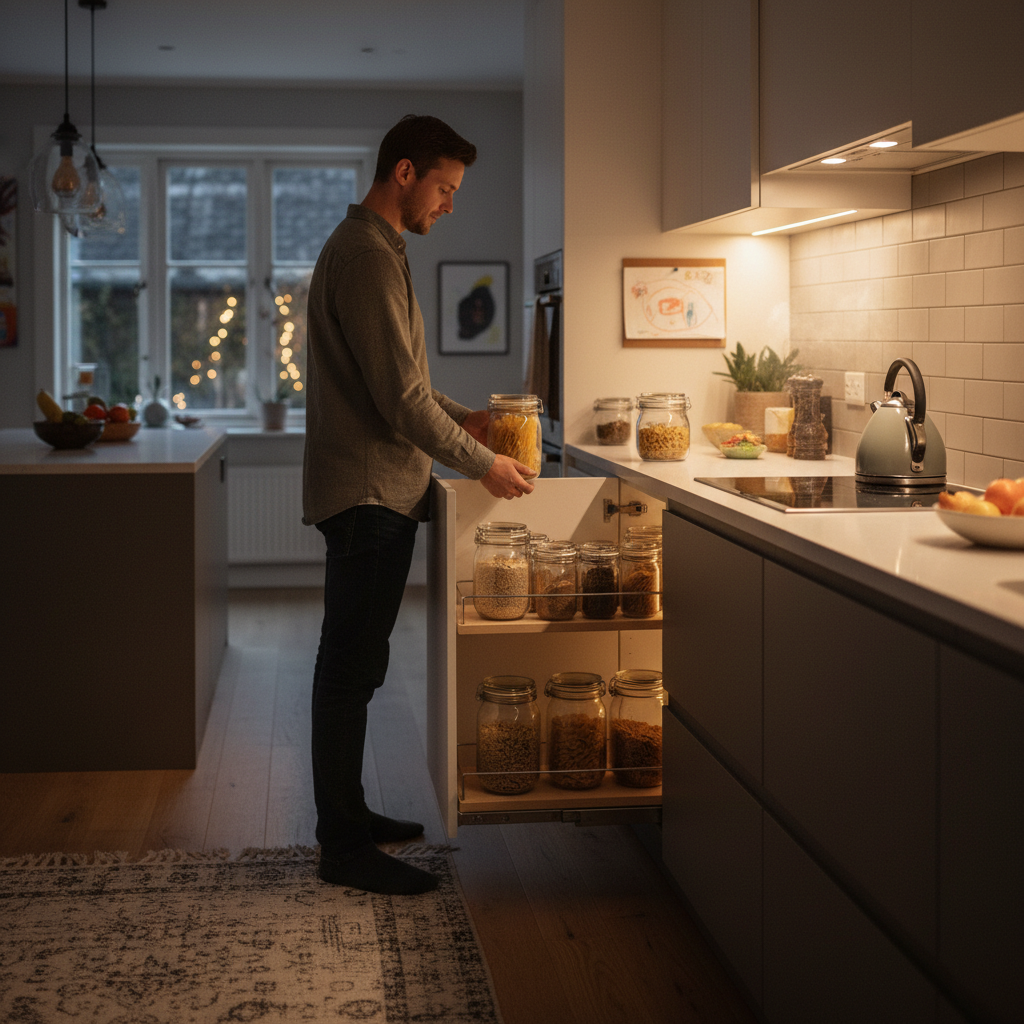
Before: Items lost at the back of shelves. After: Full-extension drawers, vertical tray dividers, and a tall pull-out pantry that brings contents to you. This reduces bending and searching.
- Pair with labeled containers to maintain order long-term.
- Corner solutions like a modern lazy susan reclaim hard-to-reach space.
6) Island rework for seating and storage
Before: Narrow prep area, no seating. After: A right-sized island with an overhang and storage on both sides. Aim for safe clearances around the island to keep circulation smooth.
- Include outlets on the island ends for small appliances.
- Waterfall edges visually ground the island and protect corners.
7) Ventilation and range wall upgrade
Before: Noisy hood that barely captures steam. After: Properly sized, vented hood, easy-clean backsplash, and a sleeker cooking zone. Better capture equals less residue on nearby cabinets.
- Match hood width to the range width for best performance.
- Consider a simple wood valance for a warm, custom touch.
8) Open-shelf accent, not a full wall
Before: Heavy upper cabinets make a small room feel tighter. After: Two or three open shelves near a window lighten the look without sacrificing essential storage.
- Use durable finishes that resist moisture near sinks.
- Keep shelves to everyday items so they stay tidy.
9) Color blocking with two-tone cabinetry
Before: One color, flat look. After: Lighter uppers, deeper base tones, or a contrasting island. Two-tone kitchens add depth and hide scuffs where they occur most—near the floor.
- Repeat the island color in small details (stools, hardware) for harmony.
- Balance bold colors with neutral counters and backsplash.
10) Appliance right-sizing
Before: Oversized appliances crowd prep space. After: Appliances that fit the household’s actual cooking style, freeing counter length for prep and serving.
- Panel-ready dishwashers create a seamless cabinet run.
- Measure door swing so traffic never collides with openings.
11) Floor refresh for warmth and continuity
Before: Patchy, cold tile. After: Warm-toned hardwood or durable luxury vinyl for comfort and continuous sightlines into adjacent rooms.
- Use area rugs at prep zones for comfort and traction.
- Keep transition strips minimal for a clean look.
12) Media wall or breakfast hutch integration
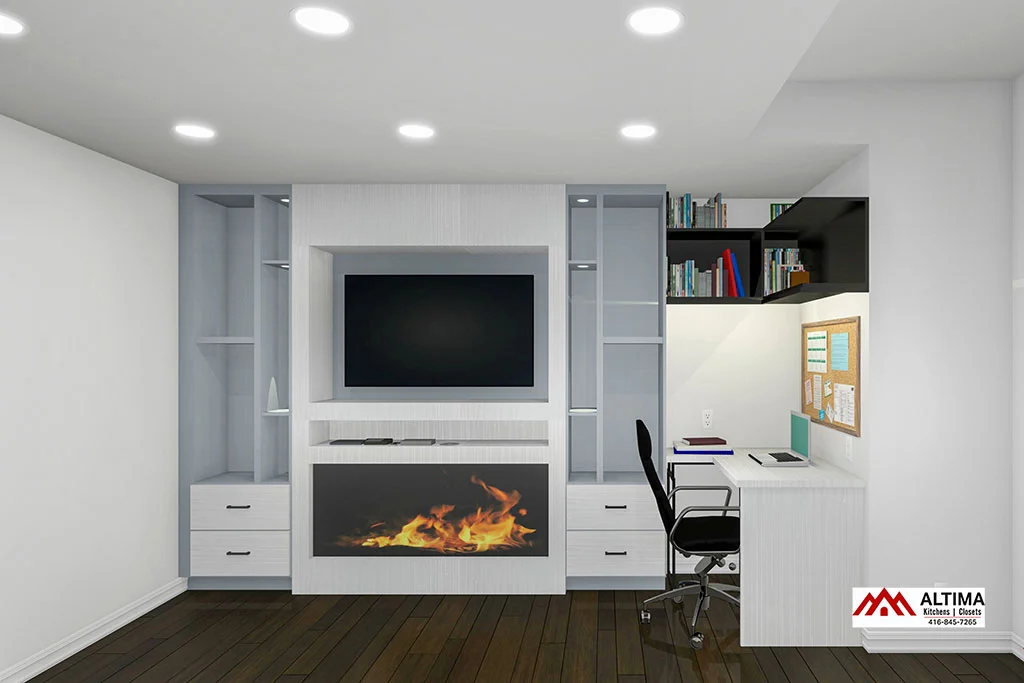
Before: Wasted wall beside dining nook. After: A slim hutch, built-in coffee bar, or media wall that supports how you live day-to-day.
- Explore options similar to our custom kitchen design ideas roundup.
- Hidden charging drawers keep counters clear.
Want quick inspiration hits? Browse our internal primer on value-boosting upgrades in 8 ideas to increase home value.
Best Practices That Elevate the “After”
The best “after” outcomes come from tight planning, consistent materials, and careful installation. Standard clearances, lighting layers, and ergonomic storage are non-negotiables. Keep selections under one roof and work with one accountable team for fewer hiccups.
Design and layout
- Target about 36 inches for walkways; increase in high-traffic areas when possible.
- Place dishwashers near sinks and allow clearance to open drawers simultaneously.
- Set microwaves at a safe reach—avoid placing too high above the range.
Material selections
- Engineered quartz offers durable, low-maintenance counters in varied patterns.
- MDF painted doors can achieve a smooth, uniform finish in our spray booth.
- Choose hardware with solid feel—daily touchpoints shape perceived quality.
Storage strategy
- Use full-extension drawers in base cabinets for pots and pans.
- Add pull-out spice racks near the cooktop for one-step access.
- In corners, a modern lazy susan or blind-corner pull-out keeps items visible.
Lighting and electrical
- Plan task lighting first; avoid shadows at primary prep areas.
- Include island outlets to support small appliances and charging.
- Dimmer controls help shift from cooking to entertaining mode.
See how these standards come together in our project playbook inside the kitchen renovation before-and-after walkthrough.
Tools, Checklists, and Helpful Resources
Use a simple toolkit: a prioritized wish list, appliance specs, 2D/3D drawings, and a single selections sheet for cabinets, counters, tile, hardware, organizers, and lighting. Keep everything in one place to speed decisions and prevent scope drift.
Your one-page renovation checklist
- Goals and must-haves (top 5)
- Appliance list with dimensions
- 2D layout options (keep final version dated)
- 3D renderings (colorway A/B)
- Selections: doors, finish, quartz, tile, hardware, organizers, lighting
- Site notes: condo rules, access, protection plan
- Post-install care guidelines
Resource pointers
For additional context on refresh pathways like refinishing or refacing, you can skim this general kitchen cabinets makeover overview and this short cabinet refacing guide. These are not substitutes for custom design, but they’re useful primers.
Prefer a step-by-step framework tailored to GTA homes? Our custom home renovations guide explains how kitchen upgrades fit within a bigger plan.
Case Studies and Real-World Before/After Examples
Here are condensed before/after snapshots from GTA projects. Each shows a specific pain point solved by targeted design, factory-direct cabinetry, and precise installation—illustrating what a coordinated team can deliver.
Compact condo galley, Toronto
Before: Tight galley, poor lighting, scarce prep space. After: Two-tone cabinets, full-extension drawers, quartz counters, matte subway tile, and continuous under-cabinet LEDs. A slim pull-out pantry turned dead space into daily convenience.
We kept clearances comfortable and used 3D design to balance color blocking with natural light.
Family semi-detached, Brampton
Before: Builder-grade cabinets and a peninsula that choked flow. After: Island with seating, reworked work zones, and task lighting. The breakfast hutch stores lunch kits and small appliances behind doors—clutter gone.
Our in-house manufacturing matched finish tones across doors, trim, and valances for a true built-in look.
Open-concept revival, Mississauga
Before: Cavernous room but no focal point. After: Waterfall island, coordinated hood wall, and accent glass uppers with interior lighting. The space now anchors gatherings and weeknight meals with equal ease.
We used a unified selections sheet to keep counters, tile, and hardware harmonized from day one.
Basement kitchenette, Oakville
Before: Storage catch-all with a bar sink. After: Compact kitchenette for guests: durable counters, easy-clean backsplash, and deep drawers for serveware. Lighting layers make the lower level feel bright and inviting.
See how auxiliary spaces tie into main-floor updates in our home renovations guide.
Before vs. After: Quick Comparison Guide
Use this table to map a common “before” issue to a focused “after” solution. It summarizes disruption, visual impact, and storage gains so you can prioritize changes that matter most in your home.
| Idea | Before Issue | After Solution | Disruption | Visual Change | Storage Impact |
|---|---|---|---|---|---|
| Refacing | Dated doors | New doors/finish | Low–Medium | Dramatic | Low |
| Quartz counters | Worn laminate | Durable surface | Medium | High | None |
| Lighting plan | Shadowy prep | Layered LEDs | Low | Moderate | None |
| Pull-outs | Lost items | Full-extension | Low | Subtle | High |
| Island rework | No seating | Storage + stools | Medium | High | High |
| Backsplash | Stained paint | Tile or slab | Low | Moderate | None |
For a bigger-picture roadmap that includes kitchens within whole-home planning, review our home renovation guide.
Considering a Remodel? Let’s Design the “After” You Want
If you can describe your dream kitchen, we can model it in 3D and build it in our factory. One accountable team handles design, manufacturing, installation, and communication from start to finish.
Frequently Asked Questions
These concise answers address the most common before-and-after remodel questions we hear from GTA homeowners. Each response is designed for quick reading and confident next steps.
What counts as a good “before” photo?
Capture wide shots of the entire room plus close-ups of problem areas like corners, lighting shadows, and worn surfaces. Clear “before” photos help designers plan targeted fixes and make the after shots more meaningful for your records.
Do I need to change the layout to see a big difference?
Not always. Many dramatic transformations come from refacing, counters, backsplash, lighting layers, and storage upgrades. If flow is a pain point, strategic layout tweaks—like swapping a peninsula for an island—can deliver outsized benefits.
Where should I start if I feel overwhelmed?
Start with a short wish list and your appliance specs. From there, 2D/3D design helps you visualize options and finalize selections in one place. A single design-build team keeps everything organized and on schedule.
Are cabinet refacing and refinishing real alternatives to full replacement?
Yes—when cabinet boxes are sound. Refacing (new doors/veneers) or refinishing (new spray finish) can reset the look quickly. For general background, see this third-party kitchen cabinets makeover overview.
What’s one upgrade that improves daily life the most?
Layered lighting plus full-extension drawers. Seeing your prep area clearly and reaching pots or pantry items without digging changes how the kitchen feels every single day.
Key Takeaways and Next Steps
Great kitchen remodel ideas before and after combine design vision with factory-quality execution. When one team handles design, manufacturing, and installation, the result is a cohesive space that works better and looks custom-built.
- Plan with purpose: Align layout, lighting, and storage before choosing finishes.
- Use 2D/3D design: See proportions and colors before you build.
- Pick durable finishes: Quartz, quality hardware, and pro spray finishing last.
- Upgrade storage: Full-extension drawers and pull-outs change daily routines.
- Work with one team: Our design-build model keeps communication tight and delivery on track.
Ready to imagine your own “after”? Explore our before-and-after kitchen examples, then book a consultation in 11 Edvac Drive. We’ll translate your wish list into a build-ready plan.
Related Posts
Why Choose Kitchen Renovation Company
Nowadays, Kitchen spaces are not only a place for cooking and serving food, but these areas act as a statement, as they speak a lot about a family, the philosophy and personality of individuals, and spaces. If you admire aesthetics and adorn the beauty of your home, you must pay attention to the interior design […]
How a Kitchen Renovation Contractor is Changing the Game
Lifestyle is all about bringing something coherent to the overall experience of living. The kitchen and closets stand as two of the most influential spaces in a home that add to the overall experience of living. A Kitchen Renovation Contractor in Whitby by the name of Altima Kitchen and Closets Inc. is changing the overall […]
How Media unit contractor in Whitby is Changing the Game
Lifestyle is all about bringing something coherent to the overall experience of living. The kitchen and closets stand as two of the most influential spaces in a home that add to the overall experience of living. A Media Unit Company in Whitby by the name of Altima Kitchen and Closets Inc. is changing the overall […]