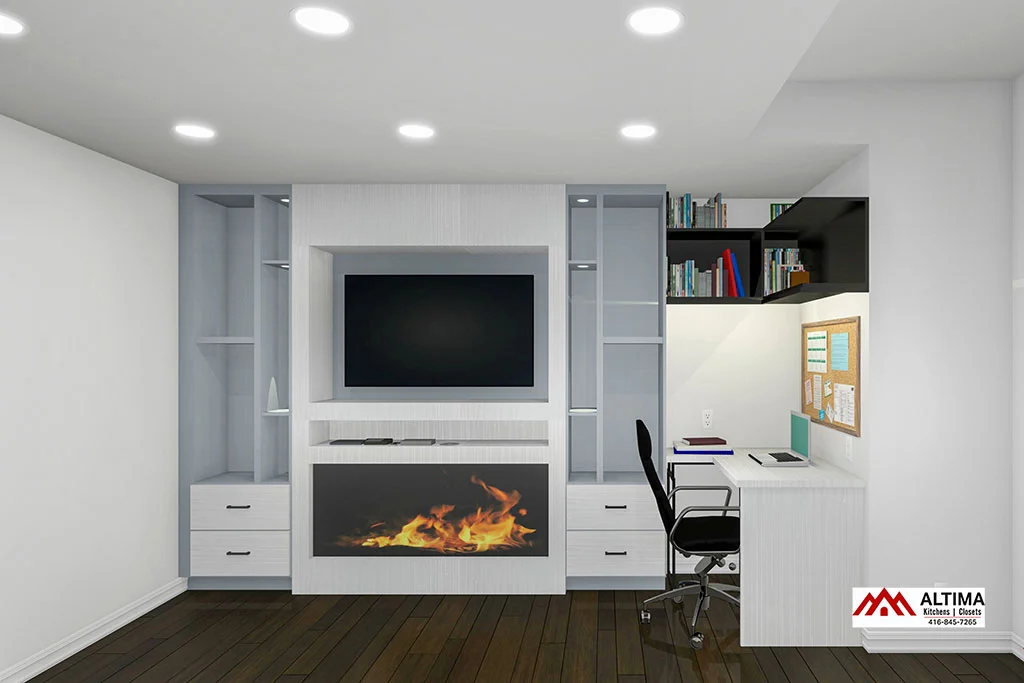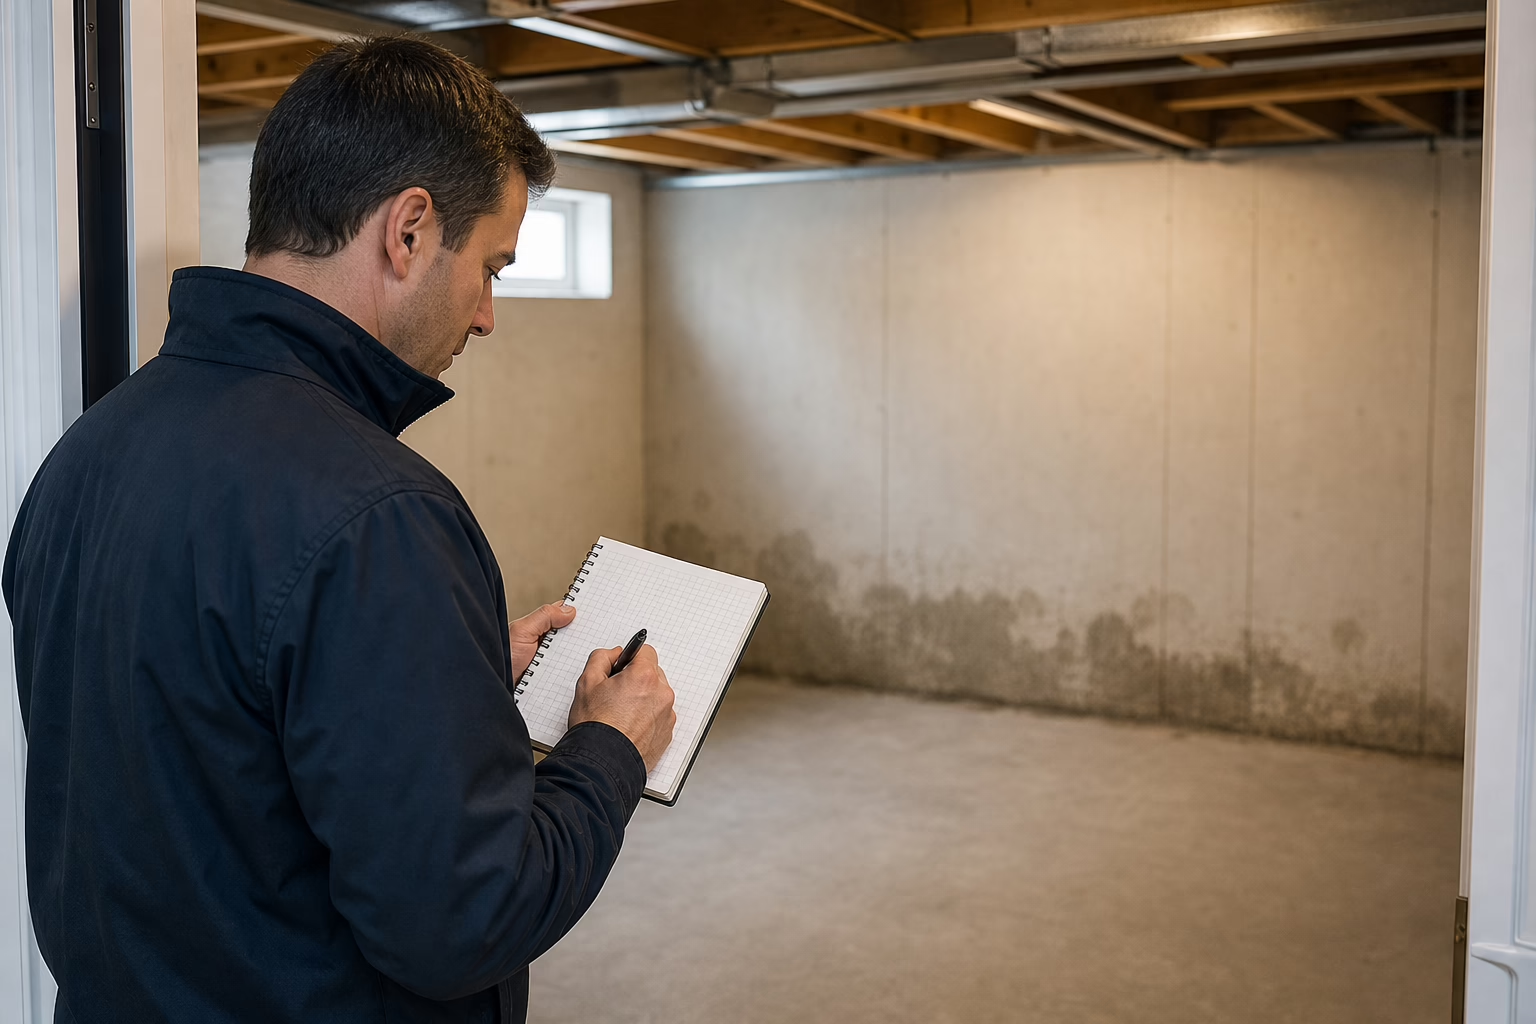
A basement waterproofing guide should help you organize observations and make safer decisions. It should not be used to diagnose a leak from symptoms alone or authorize excavation, structural repairs, electrical work, or specialized remediation. For GTA homeowners, the sensible sequence is to document the moisture, stop when conditions may be unsafe, obtain an appropriate professional assessment, request a written scope, and delay finished renovations until the moisture concern has been addressed.
This distinction matters if you are considering new flooring, cabinetry, a media unit, drywall, or another finished basement feature. Cosmetic improvements can make a space look complete while concealing an unresolved problem. Waterproofing assessment and basement renovation are related, but they are not automatically the same service.
Step 1: Document What You Are Seeing
Begin with evidence rather than assumptions. A damp spot, odour, stain, condensation, or peeling finish may be important, but none identifies the cause by itself. Your goal is to give a qualified professional a clear record of what changed and where.
For each affected area, record:
- the room, wall, corner, floor area, or opening where the concern appears;
- the date you first noticed it and whether it is recurring;
- whether it appeared or worsened after rain, snow, thawing, or another weather event;
- visible staining, damp materials, condensation, peeling finishes, or unusual odours;
- whether the affected area seems to be spreading or changing;
- any previous repairs, replacement materials, or known history of moisture; and
- clear photographs taken from the same general viewpoints when the condition changes.
Keep the original photographs and add short notes rather than relying on memory. If you are planning a future basement renovation, also mark where you hoped to place flooring, cabinets, a bathroom, a media unit, or storage. That information helps the assessment account for the intended use without treating planned finishes as a solution.
Step 2: Check for Situations That Require You to Stop

Some observations are not appropriate for DIY investigation. Stop and seek qualified help if you encounter:
- standing water near outlets, appliances, wiring, electrical panels, or other electrical equipment;
- signs of structural movement or significant cracking that concern you;
- sewage, contaminated water, or an odour suggesting a sanitation concern;
- suspected mould, especially if the affected area is extensive or you are unsure how to manage it safely;
- unstable flooring, unsafe access, or conditions that make reaching the area hazardous; or
- any proposed task involving excavation, structural repair, opening concealed assemblies, or changing an electrical system.
Do not remove materials, enter an unsafe area, or operate equipment simply to investigate further. An online guide cannot evaluate conditions at your property. When there may be an immediate electrical, structural, sanitation, or health concern, contact an appropriately qualified professional.
Step 3: Investigate Only What You Can Observe Safely
Once you have ruled out an immediate reason to stop, limit your review to accessible, non-invasive observations. Look at areas you can reach without moving heavy objects, dismantling finishes, opening walls, or disturbing structural materials. Compare the interior symptom with what you can safely observe outside.
You may also review:
- previous invoices, photographs, inspection notes, or repair descriptions;
- whether the concern is isolated or appears in more than one area;
- visible conditions around accessible exterior walls and drainage routes;
- changes in the basement after different weather conditions; and
- which materials or belongings are currently affected.
Keep the language factual. Write “damp mark on the lower wall after heavy rain” rather than “the foundation is leaking.” Do not excavate, redirect systems, seal concealed areas, or make structural or electrical changes based only on a guide.
Step 4: Arrange the Right Professional Assessment
Provide your photo log, timeline, repair history, and safety observations to a qualified professional whose experience matches the concern. Depending on what you observed, that may involve a waterproofing, foundation, drainage, remediation, or other relevant specialist. Ask what they believe is happening, what evidence supports that view, and what remains uncertain.
Be clear about the difference between assessment and renovation. A company that designs or installs basement finishes should not automatically be assumed to provide specialized waterproofing, foundation repair, mould remediation, or engineering services. Confirm the scope and qualifications directly before authorizing specialized work.
If a broader renovation will follow, keep the specialist’s documentation. It can help the renovation team understand which areas are ready for finishes, which materials should be avoided or replaced, and whether the planned layout needs to change.
Step 5: Request a Written Waterproofing Scope
Before approving work, request a written document that separates confirmed observations, proposed work, and exclusions. Ask:
- What concern is the proposed work intended to address?
- What findings support the proposed approach?
- What work is included, and what is specifically excluded?
- What preparation, access, removal, replacement, or cleanup is expected from each party?
- Who is responsible for related repairs if concealed conditions are discovered?
- Are drainage, repair, or other components included, or are they separate items?
- What documentation will be provided when the work is complete?
- What are the payment stages, and what event triggers each payment?
- What warranty terms apply, what do they exclude, and how are future concerns reported?
Do not rely on a verbal promise that a problem will disappear permanently. Have the scope, price, assumptions, payment schedule, completion conditions, and warranty terms put in writing.
Step 6: Keep Renovation Finishes on Hold Until Moisture Is Addressed
New flooring, drywall, cabinetry, closets, media units, and decorative finishes can obstruct access to affected areas or suffer damage if moisture returns. Installing them first may also make it harder to see whether the underlying concern has been resolved.
Once the moisture concern has been assessed and appropriate work is complete, you can plan the basement’s next stage with better information. Altima Kitchens and Closets offers basement renovation services, including renovation planning and installation for finished spaces. That renovation scope should be discussed separately from specialized waterproofing or foundation work unless the provider confirms otherwise.
Pre-Consultation Worksheet for a Basement Assessment
Prepare this information before speaking with a specialist or renovation company:
- Affected location: Which room, wall, corner, floor area, or opening is involved?
- Timing: When was it first noticed? Is it continuous, occasional, or linked to weather?
- Visible evidence: What staining, dampness, condensation, peeling, or odour have you observed?
- Photos: Do you have dated images showing the condition and changes?
- History: Have there been earlier repairs, leaks, replacements, or inspections?
- Accessible observations: What can you safely see around the interior and exterior?
- Current use: Is the basement used for storage, living space, laundry, recreation, or another purpose?
- Future use: What do you want the space to become after the moisture concern is addressed?
- Documents and questions: Which records, proposals, warranties, or unresolved questions should you bring?
Plan the Basement Renovation After the Assessment
After the moisture issue has been separately assessed and addressed, revisit the renovation plan. The sequence can affect flooring, tile, cabinetry, storage, lighting, media units, and access to services. Define the intended use first, then identify which items are renovation finishes rather than waterproofing or specialized repair.
For a broader planning framework, see how to plan a basement renovation in Brampton. Altima’s stated process moves through analysis, planning, budgeting, design, manufacturing, and installation, which can help organize the renovation phase after the moisture-related scope is clear.
What to Look for in a Renovation Partner for the Next Stage
Once you are ready to renovate, look for a partner that makes responsibility and scope easy to understand. Ask who handles design, material selection, manufacturing, installation, communication, and coordination. Confirm that the quote identifies major items, upgrades, exclusions, and any areas that must remain accessible.
Altima Kitchens and Closets describes itself as a GTA design-build renovation company with in-house design and installation, factory-direct cabinetry, itemized quotations, and 2D and 3D design visualizations. Its showroom and factory are located at 11 Edvac Drive, Units 13–19, Brampton, Ontario L6S 5W5. These capabilities are relevant to the renovation stage, not a claim of specialized waterproofing or foundation-repair expertise.
You can review Altima’s renovation methodology and showroom information when comparing options.
Account for the Renovation Budget Separately
Keep waterproofing or specialized repair separate from the later renovation quote. Clear line items make it easier to understand what you are paying for and which party is responsible for each task.
For renovation work, ask for an itemized quotation covering the agreed scope, selected materials, upgrades, installation, and exclusions. Altima states that it offers itemized quotations with upgrade pricing. It also advertises financing with 0% down, subject to its terms and approval process. Review financing conditions, fees, payment obligations, and total cost before deciding. Read the company’s financing information directly.
Frequently Asked Questions
Can I renovate my basement before waterproofing is complete?
It is safer to address and document the moisture concern first. New finishes may conceal the affected area, restrict access, or be damaged if moisture returns. Plan renovation after appropriate assessment and related work are complete or clearly separated in the project scope.
What information should I give a waterproofing professional?
Share affected locations, dates, weather patterns, photographs, visible staining or odours, previous repairs, accessible exterior observations, and immediate safety concerns. Also explain how you use the basement and what you intend to do with it later.
Does a basement renovation contractor automatically provide waterproofing or foundation repair?
No. Do not assume a renovation contractor provides specialized waterproofing, foundation repair, mould remediation, drainage work, or engineering services. Confirm the exact scope before authorizing work. A renovation company may handle the later design, cabinetry, flooring, tile, and installation phase while a separate specialist addresses moisture concerns.
Conclusion: Resolve Moisture Before You Build the Basement You Want
The safest way to use a basement waterproofing guide is as a decision tool: document what you see, stop when there is an electrical, structural, sanitation, mould, access, excavation, or other safety concern, and limit your investigation to non-invasive observations. Then arrange the appropriate assessment and request a written scope before approving specialized work.
If you are still gathering information, finish the worksheet and organize your photographs. If the condition may be unsafe or requires invasive work, arrange a qualified assessment first. If the moisture issue has been addressed and you are ready to plan finishes, compare renovation partners based on clear scope, itemized pricing, design communication, material responsibility, and installation coordination.
Altima Kitchens and Closets provides basement renovation services with in-house design and installation, itemized quotes, and a Brampton showroom. To discuss a renovation plan after your moisture assessment, visit Altima Kitchens and Closets.