Acoustic Treatment Solutions vs Soundproofing for Kitchens
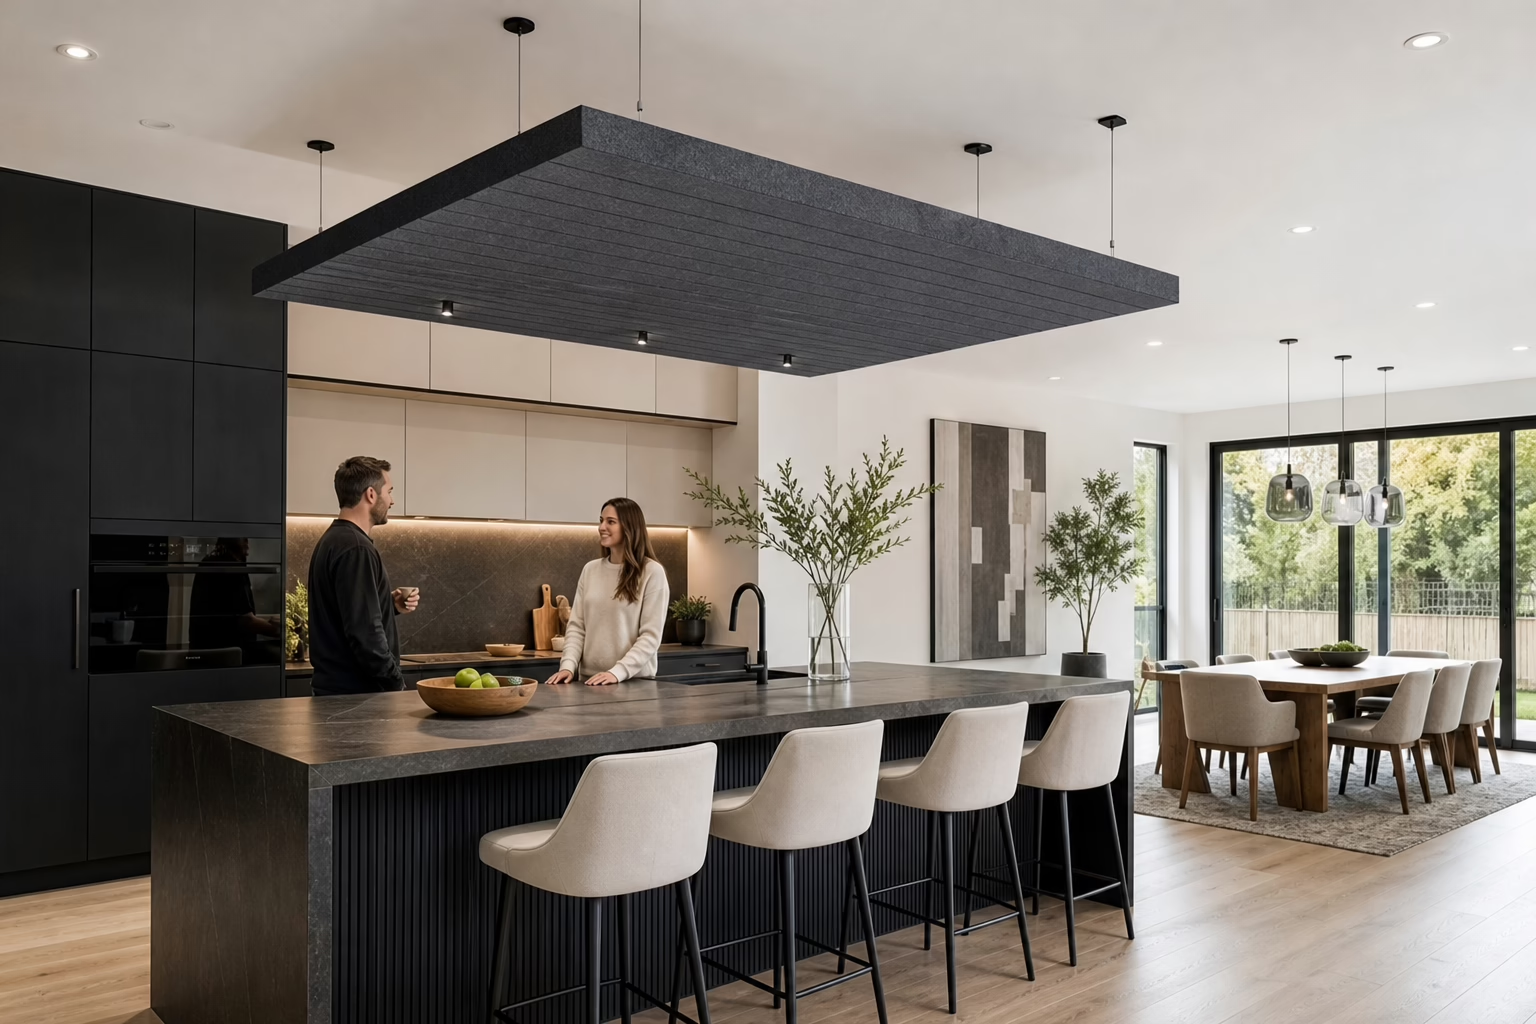
Acoustic treatment solutions reduce reflected sound inside a room, helping speech sound clearer and reducing echo. They do not automatically soundproof a kitchen or stop noise passing through walls, ceilings, floors, doors, or ducts. Choose absorption for room clarity, construction-based sound isolation for sound travelling between spaces, and coordinate both with the renovation design when necessary. Related reading: Commercial Window Treatments for Mississauga Offices.
What Acoustic Treatment Solutions Actually Do
Acoustic treatment manages how sound behaves inside a room after it is produced. Absorptive surfaces reduce sound reflections, reverberation, and harshness, which can make conversation easier to follow in a kitchen connected to a dining or living area.
Acoustic panels absorb part of the sound energy that would otherwise bounce between hard surfaces such as flooring, cabinet doors, backsplashes, countertops, and ceilings. Treatment can improve speech clarity and reduce the tiring sense that conversations, appliances, and dishes are competing at once.
Ontario noise guidance distinguishes controls placed along the path of transmission from sound-absorbing materials that reduce reflected noise within a space. It also notes that source-specific acoustic advice may be appropriate for difficult noise problems. Ontario’s explanation of noise controls provides useful context for that distinction.
Echo Control and Sound Isolation Solve Different Problems
Absorption improves the sound inside the room. Sound isolation reduces the amount of sound that travels from one room to another, which usually requires changes to separating construction, gaps, doors, glazing, ducts, or equipment connections.
| Problem | Likely first direction | What it can address | What it will not guarantee |
|---|---|---|---|
| Voices sound harsh or difficult to understand | Absorptive wall or ceiling treatment | Reflections and reverberation inside the room | Silencing an adjacent room |
| Noise travels through a shared wall | Sound-isolation construction review | Transmission through the wall assembly and gaps | Removing every sound path without examining the full boundary |
| A dishwasher or refrigerator is noticeably loud | Source, vibration, and equipment review | Placement, contact points, and some reflected noise | Eliminating mechanical or plumbing noise with panels alone |
| Bass from a media system builds up in corners | Low-frequency treatment and room-specific design | Some buildup and unevenness in the listening area | Complete isolation from neighbouring rooms |
Construction-based measures can include cavity treatment, resiliently suspended channels, improved glazing, room arrangement, and other sound-isolation details. Ontario’s environmental noise guideline identifies these types of architectural and building measures, but the right solution depends on the source, boundary, construction, and intended result. Ontario’s environmental noise guideline explains why sound isolation must be considered as a building-design issue.
Assess the Room Before Choosing Treatment

Do not begin with a panel colour or product photograph. Start by identifying where sound is produced, where it is heard, and whether the complaint is echo, poor speech clarity, equipment noise, low-frequency buildup, or transmission through the building.
Room-walkthrough checklist
- Record room dimensions: note length, width, ceiling height, and ceiling changes.
- Map open connections: identify openings into dining rooms, family rooms, hallways, stairwells, and foyers.
- Mark conversation zones: note where people sit, stand, eat, work, or gather around the island.
- Count hard surfaces: record hard flooring, tile, glass, large windows, painted walls, cabinet sides, and smooth ceilings.
- Locate sources: list the range hood, dishwasher, refrigerator, HVAC grilles, televisions, speakers, and vibrating appliances.
- Inspect boundaries: note what is behind each wall, above the ceiling, below the floor, and beyond each door.
- Check fixed features: identify vents, sprinklers, lights, access panels, outlets, plumbing routes, cabinet runs, and appliance clearances.
A short recording from the usual conversation position can demonstrate the complaint, but it does not replace an assessment of the room and its construction. Describe when the problem is worst, such as during meal preparation, family gatherings, television use, or late-night appliance operation.
Choose Treatment by the Problem You Need to Fix

The most effective sound-control approach is matched to the source and desired outcome. In a typical kitchen, a modest combination of absorptive finishes and better room planning is often more appropriate than treating every surface or attempting to create a recording studio.
| Option | Best suited to | Advantages | Tradeoffs |
|---|---|---|---|
| Wall panels | Open-plan kitchens with echo and limited ceiling access | Reduce broad reflections and add a design feature | Use wall area and need grease-conscious placement |
| Ceiling clouds | Large rooms with high or uninterrupted ceilings | Use overhead space when walls hold cabinets and windows | Require coordination with lighting, sprinklers, ventilation, and cleaning access |
| Ceiling baffles | Exposed or tall ceilings | Add absorptive area without filling walls | Can affect sightlines, fixtures, and visual openness |
| Rugs, curtains, and upholstered seating | Mild reverberation in connected living spaces | Least disruptive and easiest to change | Offer limited control in highly reflective rooms |
| Bass traps | Media rooms and listening spaces with bass buildup | Target low-frequency problems | Need room-specific placement and corner space |
| Framing, insulation, sealing, doors, or other construction changes | Noise travelling through walls, ceilings, floors, or openings | Address transmission paths | Can affect scope, cost, finishes, services, permits, and code review |
The commonly mentioned “38% rule” is a listening-room placement guideline that places the listener roughly 38 percent of the room length from one end to help evaluate bass response. It is not a universal kitchen layout rule. In an open-plan kitchen, circulation, work clearances, island use, appliance access, and sightlines generally matter more.
Make Acoustic Treatment Work With Kitchen Design
Acoustic elements should be planned with the kitchen, not added after every wall and ceiling has another function. A wall panel may compete with upper cabinets or a backsplash, while a ceiling cloud may compete with pendants, recessed lights, ventilation, sprinklers, and the visual centre of the room.
Keep treatment away from cooking grease, splashing, and frequent impact unless its finish suits that environment and can be cleaned or replaced. Leave access to electrical connections, appliance services, vents, and inspection points. Treatment should preserve safe clearances and must not obstruct ventilation or equipment access.
Cabinet depth, island size, ceiling height, and open shelving influence where sound reflects. If concealed lighting is part of the plan, coordinate the acoustic layout with cabinet and ceiling details before fabrication. Planning concealed kitchen lighting at the same time can reduce conflicts between valances, fixtures, wiring, and overhead treatment.
Coordinate Acoustics With Renovation Work in the Right Order
- Define the complaint. Decide whether the priority is clearer conversation, less echo, quieter appliances, reduced bass buildup, or less sound entering another room.
- Inspect existing construction. Look at shared walls, ceiling cavities, floors, doors, ducts, plumbing routes, and visible gaps.
- Decide whether construction changes are needed. Address framing, insulation, sealing, resilient connections, doors, or other transmission paths before closing the assembly.
- Coordinate services. Plan electrical routes, ventilation, lighting, speakers, appliance connections, and access panels.
- Approve the integrated design. Review cabinet elevations, ceiling plans, wall locations, equipment positions, and treatment placement together.
- Complete concealed work first. Finish framing, insulation, wiring, ductwork, plumbing, and wall repairs before visible acoustic finishes.
- Install and review the finished room. After dusty work is complete, install visible treatment and test the room from normal conversation or listening positions.
Ontario says major renovation work may require a building permit and recommends checking municipal submission requirements, zoning rules, and applicable conditions. Where a renovation affects a separating assembly or other regulated construction, the project should receive a scope-specific code review. Ontario’s 2024 Building Code Compendium identifies an apparent sound transmission class rating of at least 47 for an applicable separating assembly and adjoining construction in the specified housing context, but that figure is not a blanket requirement for every kitchen. Review the applicable Building Code context before altering a shared wall, floor, or ceiling.
Apply the Plan to Basements and Media Rooms

Consider this hypothetical example: you are renovating a basement into a family media room beside a home office. The goal is to reduce reflections around the seating area, limit disturbance in the office, and keep equipment, cables, lighting, and storage organized.
In that situation, insulation and framing should be considered before the walls are finished. Flooring, ceiling construction, doors, electrical routes, ventilation, speaker positions, and equipment heat belong in the same plan. Soft flooring and wall or ceiling absorption may support clearer dialogue, but neither automatically prevents bass or voices from travelling through every boundary.
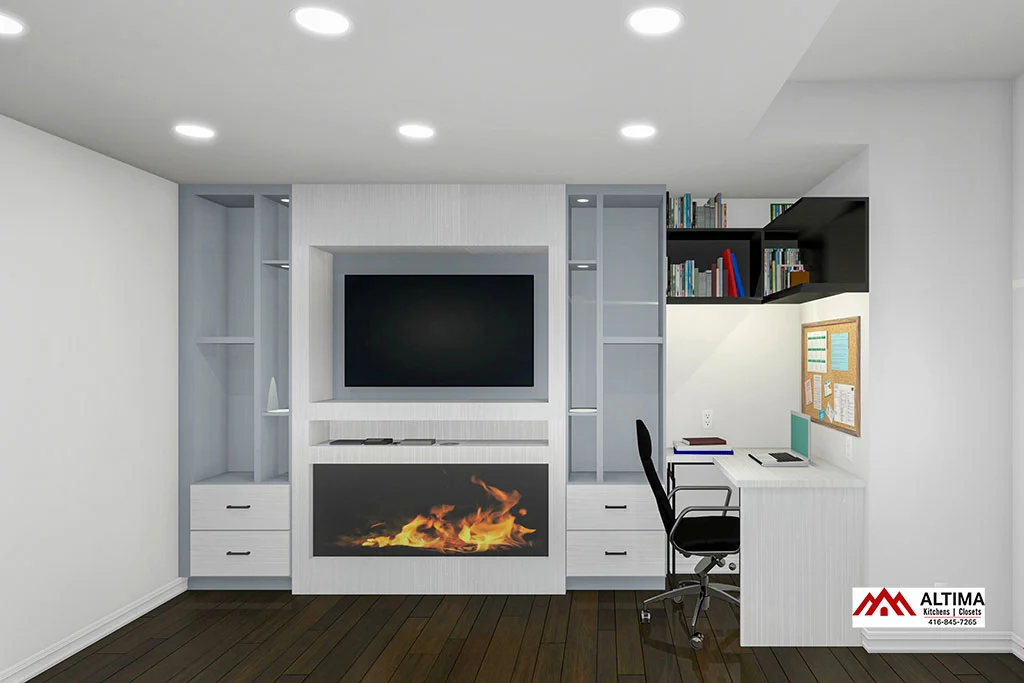
Basement renovation work can include insulation and framing, flooring, lighting and electrical upgrades, wall finishing, and custom storage. A built-in media solution can organize equipment and cables. Select its layout, finish, access, ventilation, and cable routes alongside the acoustic plan so the room remains practical and serviceable.
Set Realistic Expectations for Results and Maintenance
Well-matched absorption can make a room feel calmer, reduce flutter echo, and improve conversation at the island or dining table. It will not close an open doorway, stop impact noise from an upper floor, remove duct-borne sound, correct every appliance vibration, or guarantee silence in an adjoining room.
Low-frequency sound is especially difficult because it can travel through building elements and may require more space and construction attention than a thin decorative panel. If the complaint involves a shared wall, ceiling, plumbing chase, HVAC route, or persistent equipment vibration, investigate the transmission path before purchasing absorptive products.
In a kitchen, select finishes with cleaning and replacement in mind. Keep fabric or textured surfaces away from direct cooking exposure where grease could accumulate, and plan access if a panel, cloud, or baffle must be removed to service lighting, ventilation, or wiring.
Prepare an Acoustic Brief for Your Renovation Consultation
Bring a concise written brief so the designer or contractor can discuss the actual problem instead of guessing from a product image. Include:
- The room’s use, occupants, and usual conversation or listening positions.
- The main complaint: echo, unclear speech, appliance noise, bass buildup, or sound travelling elsewhere.
- The source and destination of noise, including the room beyond each relevant wall, ceiling, or floor.
- Room dimensions, openings, windows, doors, hard finishes, and major cabinetry.
- Photos of the kitchen, ceiling, adjacent rooms, vents, lights, appliances, and shared boundaries.
- Your preferred visual direction, such as discreet, decorative, ceiling-mounted, built-in-looking, or removable.
- Cleaning concerns, household activities, pets, children, and high-contact areas.
- Media equipment details, including speakers, television, receiver, cables, ventilation, and access requirements.
- Planned framing, insulation, electrical, ventilation, plumbing, ceiling, cabinetry, or flooring work.
- Questions about permits, condo approvals, municipal rules, and review responsibilities.
Acoustic treatment solutions work best when the sound problem and room constraints are clear. If your plan includes cabinetry, a kitchen layout change, or a broader renovation, Altima Kitchens And Closets can discuss the design and construction scope through its kitchen renovation service, while specialized acoustic assessment should be handled by an appropriately qualified acoustic professional.
Related Posts
Why Choose Kitchen Renovation Company
Nowadays, Kitchen spaces are not only a place for cooking and serving food, but these areas act as a statement, as they speak a lot about a family, the philosophy and personality of individuals, and spaces. If you admire aesthetics and adorn the beauty of your home, you must pay attention to the interior design […]
How a Kitchen Renovation Contractor is Changing the Game
Lifestyle is all about bringing something coherent to the overall experience of living. The kitchen and closets stand as two of the most influential spaces in a home that add to the overall experience of living. A Kitchen Renovation Contractor in Whitby by the name of Altima Kitchen and Closets Inc. is changing the overall […]
How Media unit contractor in Whitby is Changing the Game
Lifestyle is all about bringing something coherent to the overall experience of living. The kitchen and closets stand as two of the most influential spaces in a home that add to the overall experience of living. A Media Unit Company in Whitby by the name of Altima Kitchen and Closets Inc. is changing the overall […]