How to Prepare for Custom Closet Installation in Brampton
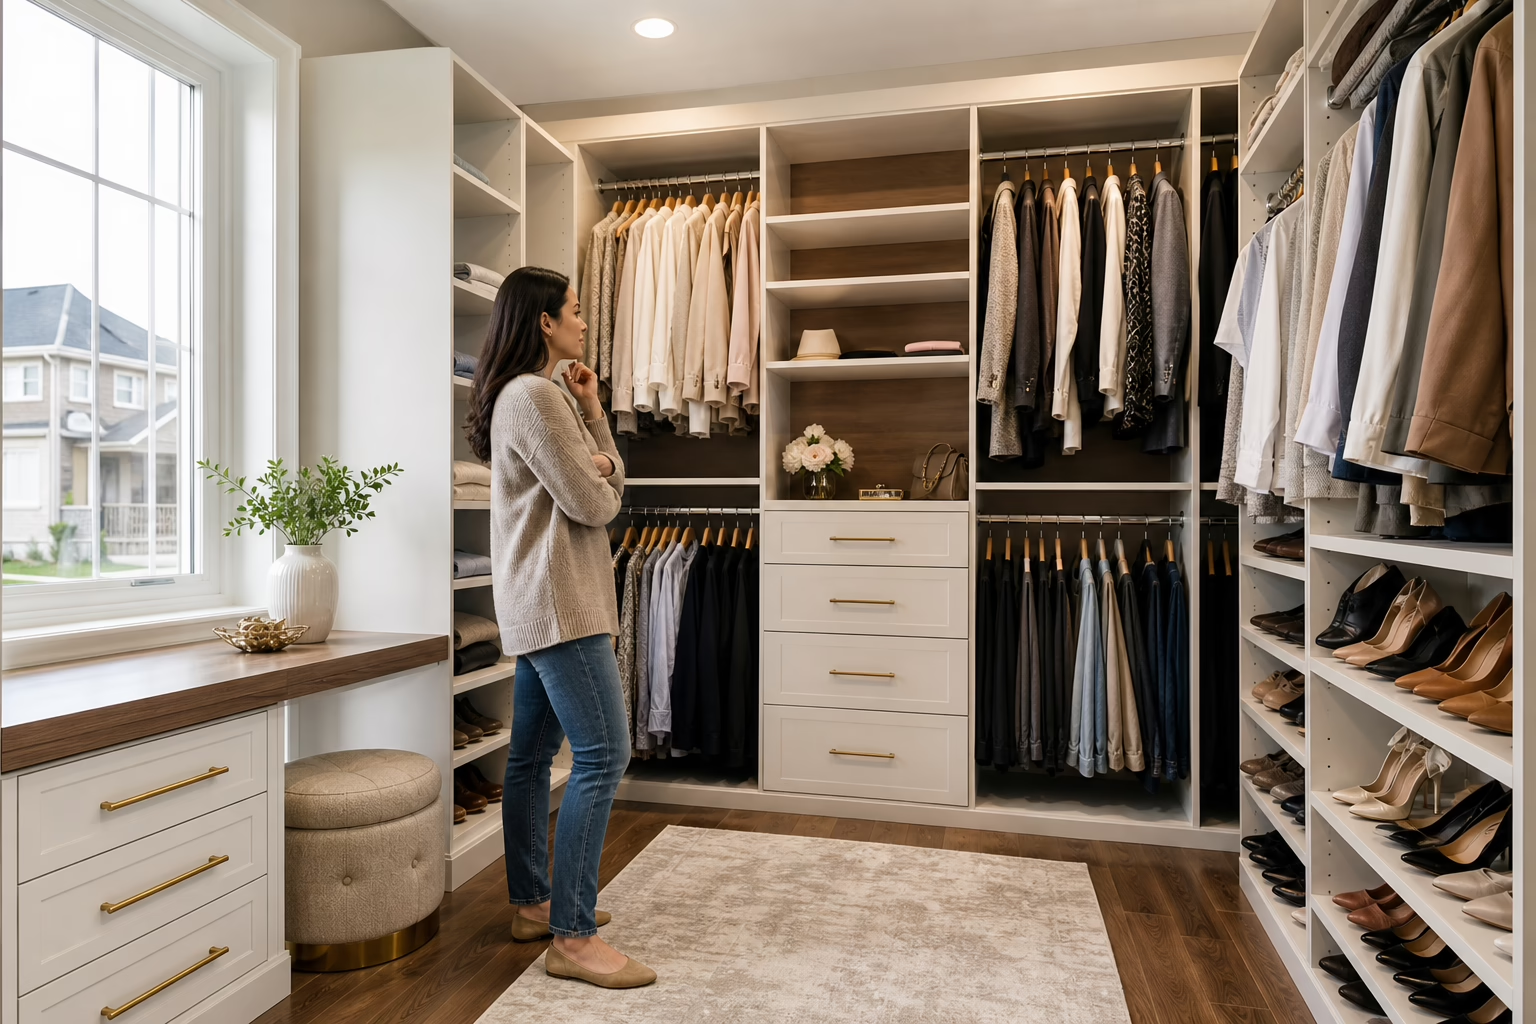
Successful custom closet installation in Brampton starts before the first panel is made. Define what the storage must hold, confirm whether custom or modular storage suits the room, review the design carefully, and compare the full installation scope rather than relying on a headline price.
This process applies to walk-in and reach-in closets, wardrobes, pantries, mudrooms, laundry storage, and other built-in systems. The goal is to approve a layout, material specification, quote, and installation plan that match your space and daily routines.
Step 1: Decide whether custom or modular storage fits the space
Custom storage is worth considering when a room has irregular walls, sloped ceilings, unusual depths, tight corners, or specific wardrobe requirements. A made-to-measure system can provide more control over finishes, accessories, drawer layouts, and vertical space.
Modular storage may suit a straightforward room where quick reconfiguration, lower initial complexity, or future relocation matters most. Standard components may require filler panels, leveling adjustments, or compromises around corners and ceiling height.
| Decision | Custom system | Modular system |
|---|---|---|
| Fit | Designed around exact walls, corners, and ceiling conditions. | Uses standard sizes and may need fillers or adjustments. |
| Appearance | Offers coordinated panels, finishes, and built-in detailing. | May provide fewer finish and configuration choices. |
| Flexibility | Optimizes the current room and storage needs. | Can be easier to reconfigure or relocate. |
| Accessories | Can be planned around your clothing and routines. | Usually limited to available system components. |
| Service | Ask who designs, manufactures, installs, and handles warranty issues. | Support depends on the supplier and product system. |
There is no universal winner. Compare the value of precise fit and personalization against the flexibility of a modular solution. Homeowners can explore custom closet storage solutions in Brampton, including walk-in, reach-in, wardrobe, pantry, mudroom, laundry, and garage applications.
Step 2: Match the layout to the room and your belongings

Start with an inventory, not a style photograph. Separate long garments, shirts, folded clothing, shoes, handbags, accessories, seasonal items, luggage, linens, and anything requiring special storage. For a pantry, consider appliances, cans, spices, and serving items. For a mudroom, consider coats, backpacks, boots, and sports equipment.
Then decide which functions need dedicated zones. Double-hanging sections suit shorter garments, while long-hanging areas may be needed for dresses and coats. Shelves, drawers, shoe storage, hampers, pull-outs, and adjustable sections affect both capacity and price.
For a walk-in closet, review the passage between storage runs and confirm that drawers and doors can open without blocking the walkway. For a reach-in closet, pay close attention to door opening, visibility, rear-corner access, and usable depth.
Step 3: Prepare for the site measure
Photograph each wall and note doors, trim, baseboards, vents, outlets, switches, windows, bulkheads, and uneven areas. Record ceiling height in more than one location if the room appears out of level. These details can affect panel heights, fillers, lighting, and installation access.
Check the route from the delivery point to the room. Measure entry doors, corridors, stair turns, and elevator doors where relevant. A component that fits the closet may still be difficult to bring into a condo or upper-floor room.
Home measurements help with an initial discussion, but the provider should verify dimensions before fabrication. Ask what the site measure includes and how discrepancies are handled.
Step 4: Review the 2D and 3D design before approval
Drawings and renders should help you test the design, not merely confirm its appearance. Check hanging rods, shelf heights, drawer stacks, shoe sections, doors, mirrors, and lighting. Make sure you can reach each shelf and open every drawer fully.
Ask how the design handles sloped ceilings, inside corners, uneven walls, baseboards, and existing features. Confirm the finish, door profile, hardware, accessory list, and lighting specification. A feature shown in a render is not necessarily included in the construction price.
Stop point: Do not approve fabrication until the layout, finishes, accessories, exclusions, and price changes are written down. Altima describes using 2D drawings and 3D renders to help clients review layouts and finishes before fabrication. You can review the broader closet installation process before your consultation.
Step 5: Compare cabinet boxes, doors, hardware, and accessories
Ask whether cabinet boxes are melamine or plywood, what the doors are made from, which finish is specified, and what hardware is included. Altima lists melamine and plywood cabinet-box options and advertises lifetime warranties on MDF Painted and Prelaminated doors. Confirm the exact warranty terms for your selected products in the written proposal.
Review hinges, drawer slides, handles, shelf adjustability, and load considerations. Price accessories separately, including pull-out hampers, shoe storage, valet rods, mirrors, specialized drawers, and other organizers.
Lighting should be planned with the layout. Ask whether the quote includes fixtures, wiring, switches, sensors, installation, and required electrical work.
Step 6: Compare itemized quotes instead of headline prices
A useful custom closet quote should show what you are paying for and what remains your responsibility. Compare:
- Site measurement and design services.
- Cabinet boxes, doors, panels, fillers, and finish specifications.
- Hinges, drawer slides, handles, rods, and adjustable hardware.
- Shelves, drawers, shoe storage, hampers, pull-outs, mirrors, and other accessories.
- Lighting, delivery, installation, finishing, and cleanup responsibilities.
- Taxes, payment milestones, financing terms, warranty coverage, and exclusions.
- Change-order procedures after approval or fabrication begins.
Two quotes can differ because one includes upgrades, delivery, or installation while another leaves them out. Altima states that it provides itemized quotes with upgrade pricing, giving homeowners a clearer basis for comparing selections. Ask for every allowance and exclusion in writing.
Step 7: Check who controls design, manufacturing, and installation
Ask whether one team handles design, manufacturing, delivery, and installation or whether the project passes between vendors. Confirm who manages revisions, schedule updates, damaged components, and warranty claims.
Important questions include: Who takes final measurements? Who approves shop drawings? Where are components manufactured? Who installs and adjusts doors and drawers? What happens if a wall condition changes the design?
Altima Kitchens And Closets identifies its Brampton showroom and factory, along with in-house design, manufacturing, and installation. Treat these as points to verify during your consultation and ask how the process applies to your project.
Step 8: Confirm Brampton and condo installation logistics
Condo projects need careful access planning. Ask the property manager about elevator bookings, permitted work hours, loading areas, hallway protection, parking, disposal, insurance documents, and approval requirements.
Confirm the route for panels and assembled components, including elevator dimensions, stair turns, corridor clearances, and door openings. Ask who coordinates delivery and what happens if the elevator or loading area is unavailable.
For a detached home, discuss driveway access, staging space, protection of nearby floors and walls, and disposal arrangements.
Step 9: Prepare for installation and final fitting
Clear clothing and personal items from the work area before installation. Remove anything obstructing walls, doors, or floor access, and confirm where materials may be placed temporarily. Keep the approved drawings and quote available.
Inspect panel alignment, door and drawer operation, shelf stability, rod placement, accessory locations, finish consistency, and lighting operation. Check corners and fillers closely.
Record incomplete or damaged items before final sign-off. Retain the final scope, warranty details, care instructions, and any written agreement about outstanding work.
Questions to ask a custom closet installer
- What exactly is included in the quoted installation scope?
- Which cabinet-box, door, finish, and hardware specifications are included?
- Can I review 2D and 3D designs before fabrication?
- Who takes final measurements and approves revisions?
- Which accessories and lighting options are upgrades?
- What changes are permitted after design approval?
- Who manufactures and installs the system?
- What are the payment milestones, warranty terms, exclusions, and claim process?
- Who coordinates condo access, delivery, protection, and disposal?
- How will schedule changes, missing components, or defects be communicated?
Written answers matter more than verbal assurances. If you are also assessing protective finishes for another property service, use the same habit of comparing the exact scope and maintenance expectations with this ceramic coating service in Brampton.
Frequently asked questions
How long does custom closet installation take in Brampton?
Timing depends on room size, design complexity, materials, manufacturing schedules, access, and the installer’s workload. Ask for the expected sequence from measurement through installation.
Do I need to prepare my closet before installation?
Yes. Remove stored items, clear the floor and access route, and identify anything that must remain. For a condo, confirm elevator and loading arrangements in advance.
Is custom installation suitable for a small reach-in closet?
It can be. Careful planning can improve door clearance, hanging height, shelf depth, drawers, and visibility. Compare the made-to-measure solution with a standard system.
What should a custom closet quote include?
It should identify design and measurement, boxes, doors, finishes, hardware, accessories, lighting, delivery, installation, taxes, payment milestones, warranty coverage, exclusions, and change orders.
Can condo owners install custom closets in Brampton?
Yes, subject to building procedures and rules. Confirm elevator bookings, work hours, delivery routes, parking, insurance documents, and approvals with the property manager.
What is the difference between a custom closet and a modular wardrobe?
A custom closet is designed around the room and your storage habits, while a modular wardrobe uses standardized components. Custom systems offer more control over fit and finish; modular systems may be easier to reconfigure.
Conclusion: approve the plan only when the scope is clear
Evaluate custom closet installation as a sequence of decisions. Define what you need to store, verify the room and access route, review the design, compare the complete quote, and confirm responsibility for manufacturing, installation, changes, and warranty service.
For Brampton homeowners, the strongest proposal is not necessarily the lowest starting figure. It is the one that makes the layout, materials, accessories, exclusions, payment stages, and installation logistics clear enough to approve confidently.
Altima Kitchens And Closets provides custom closet design and installation from its Brampton showroom and factory, with in-house design, manufacturing, and installation. To discuss your space and request a consultation, visit Altima Kitchens And Closets.
Related Posts
Why Choose Kitchen Renovation Company
Nowadays, Kitchen spaces are not only a place for cooking and serving food, but these areas act as a statement, as they speak a lot about a family, the philosophy and personality of individuals, and spaces. If you admire aesthetics and adorn the beauty of your home, you must pay attention to the interior design […]
How a Kitchen Renovation Contractor is Changing the Game
Lifestyle is all about bringing something coherent to the overall experience of living. The kitchen and closets stand as two of the most influential spaces in a home that add to the overall experience of living. A Kitchen Renovation Contractor in Whitby by the name of Altima Kitchen and Closets Inc. is changing the overall […]
How Media unit contractor in Whitby is Changing the Game
Lifestyle is all about bringing something coherent to the overall experience of living. The kitchen and closets stand as two of the most influential spaces in a home that add to the overall experience of living. A Media Unit Company in Whitby by the name of Altima Kitchen and Closets Inc. is changing the overall […]