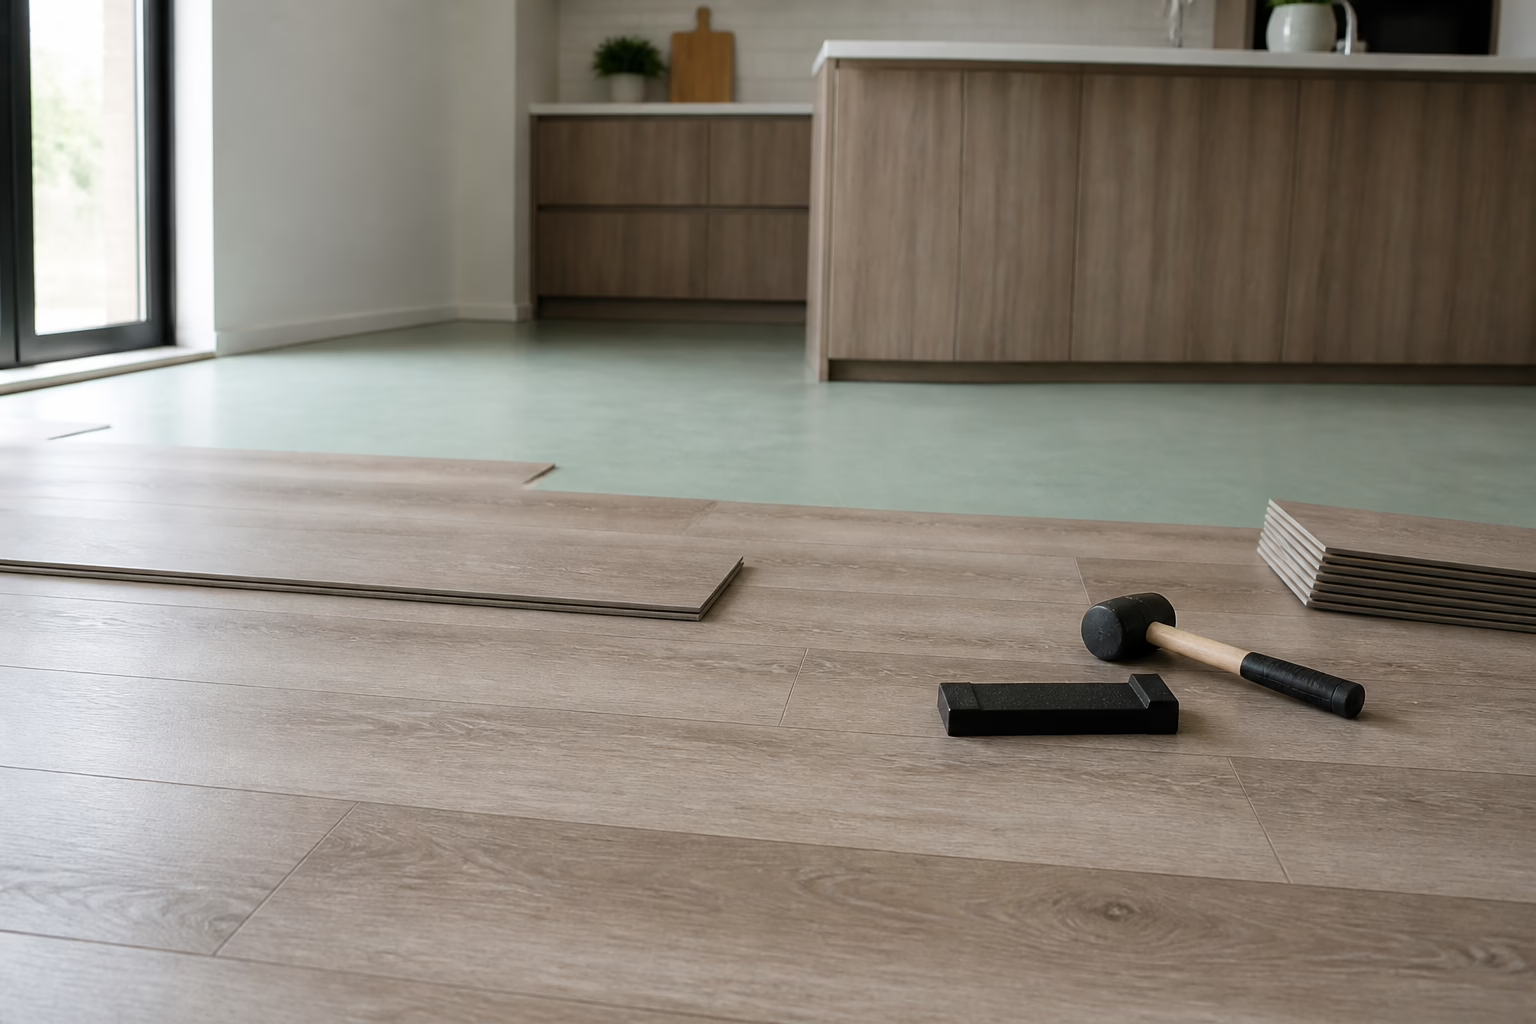
If you’re hiring a vinyl plank flooring installer, knowing the process—from the first walkthrough to the final cleanup—helps you set clear expectations, compare quotes meaningfully, and end up with a floor that looks great and lasts. This guide breaks down materials, subfloor needs, underlayment choices, layout decisions, installation steps, finishing details, and post-install quality checks you can use on site.
Vinyl plank basics: types, wear layers, and where they fit
Vinyl plank flooring typically comes in three install-friendly formats:
- Floating click-lock planks (no glue to the subfloor, edges lock together)
- Glue-down planks (adhered with pressure-sensitive or hard-set adhesive)
- Loose lay (heavy, dimensionally stable planks often secured at room perimeters)
Key specs your installer may confirm with you before ordering:
- Wear layer thickness and surface finish: influences scratch resistance and maintenance needs
- Core construction (e.g., rigid core vs. flexible): affects telegraphing, feel underfoot, and dimensional stability
- Integrated pad or separate underlayment: determines sound, cushion, and moisture considerations
- Manufacturer’s limits for room size, sunlight exposure, and temperature swings
Pre-install checklist: what a careful installer verifies
Good installations begin well before the first plank clicks together. Use this checklist to align with your vinyl plank flooring installer during the site visit:
- Product acclimation plan: where, how long, and in what conditions planks should be stored before install (follow the product’s written instructions)
- Subfloor moisture testing: method appropriate to the subfloor type (e.g., concrete vs. wood)
- Flatness tolerances: identification of high/low spots and how they’ll be corrected (grinding, patching, or leveling compound)
- Subfloor type and integrity: plywood, OSB, concrete, or existing resilient floor—and whether removal or overlay is recommended
- Underlayment plan: none, integrated pad, or separate underlayment compatible with the product
- Transitions and trim: thresholds, reducers, T-molds, stair nosings, baseboards, or quarter round
- Door clearances and swing: verify enough gap after new floor height
- Appliance and fixture handling: who disconnects, moves, and reconnects; timing between trades
- Expansion spacing: perimeter gap size and how it will be concealed
- Layout approach: starting wall, reference lines, and how to avoid skinnies (very narrow last-row planks)
If you want additional background before meeting the installer, see these resources for planning and scope alignment:
Subfloors and underlayments: the foundation of performance
Vinyl plank is forgiving, but it still reflects what lies beneath. Here’s how an installer typically approaches common substrates and underlayments:
- Concrete: Verify moisture per manufacturer guidance. Address cracks and low spots. For floating planks, a suitable underlayment or integrated pad helps with sound and minor imperfections.
- Wood subfloors: Fasten loose panels, replace damaged areas, and sand high seams. Flatness is critical to avoid hollow sounds or joint stress.
- Existing resilient floors: Many click-lock planks can float over a single, tight, and flat layer of existing resilient flooring; installers still check height transitions and thresholds.
- Radiant heat: Confirm temperature limits and heat-up schedules in the flooring’s written instructions before installation.
Underlayment selection should match both the plank and the subfloor. If the product has an integrated pad, a second pad is often not recommended. For glue-down systems, ask your installer if the adhesive requires a primer or has special spread rates to meet warranty guidelines.
Layout decisions that protect both looks and longevity
A pro layout balances symmetry with practicality:
- Reference lines: Straight, square lines keep long runs visually true in open spaces.
- Stagger patterns: Follow the manufacturer’s minimum end-joint offset; consistent staggering looks better and distributes load.
- Board widths at walls: Dry-lay to ensure first and last rows are at least the minimum width recommended.
- Light and sightlines: Align plank length with primary sightlines or incoming light for an elongated effect.
- Room breaks: Large continuous areas may need transitions or additional expansion breaks based on product limits.
Installation day: what happens step by step
- Room prep and protection: Cover adjacent finishes, set up dust control, and stage materials.
- Final subfloor touch-ups: Spot-fill, sand, or grind; vacuum thoroughly.
- Moisture/flatness verification: Quick re-checks before the first course.
- Reference lines snapped: Establish straight starts in the most visible areas.
- Cutting and fitting: Measure twice, cut once; undercut casings if required for cleaner edges.
- Locking or gluing planks: Follow seam engagement or adhesive open times precisely.
- Perimeter gaps: Maintain consistent expansion space at all fixed verticals.
- Transitions and trims: Dry-fit reducers, T-molds, and stair nosings before final fastening.
- Rolling and cleanup: For glue-down, roll with the specified roller; remove adhesive residue, collect offcuts, and vacuum.
Tricky areas: kitchens, baths, stairs, and built-ins
Challenging zones benefit from early coordination:
- Under appliances: Confirm weight limits and rolling-load guidance. Protect seams when sliding appliances back.
- Powder rooms and baths: Discuss moisture management at doorways and fixtures; follow product suitability notes for wet areas.
- Stairs and landings: Stair nosings and accurate riser/tread measurements are critical for safety and appearance.
- Around cabinets and built-ins: If new casework is planned, discuss sequencing. Thoughtful coordination with related trades—such as custom millwork insights—can help align heights, transitions, and trim details.
Quality control checks you can do with your installer
Use this punch-list before sign-off:
- Flatness feels right: No rocking or spongy spots under normal foot pressure.
- Tight seams: No visible gaps; pattern flows consistently across planks.
- Stagger pattern: End joints meet the minimum offset and look balanced.
- Perimeter expansion: Confirm it exists and is concealed by trim without pinching.
- Transitions: Secure, level, and aligned with adjacent floor heights.
- Doors and appliances: Open/close moves freely; clearances are adequate.
- Adhesive use (if glue-down): Proper trowel notch and rolling documented per product directions.
- Clean finish: No excess adhesive, chips, or surface scratches.
Maintenance for longevity
Once installed, simple routines keep vinyl plank looking new:
- Entry mats and felt pads: Reduce grit and scratching; use hard-floor-friendly chair glides.
- Regular dust removal: Vacuum with a hard-floor setting or microfiber dust mop.
- Manufacturer-approved cleaners: Avoid harsh solvents or waxes not specified by the product.
- Sunlight moderation: Where recommended, manage prolonged direct sun to minimize potential fading or movement.
- Prompt spill cleanup: Wipe up liquids and check seams in routinely wet areas.
Scope clarity and budget alignment
Clear scope avoids mid-project surprises. Confirm in writing:
- Who removes and disposes of old flooring
- Whether baseboards are replaced, reused, or paired with quarter round
- How door trimming and casing undercuts are handled
- Who moves appliances and furniture and how they are protected
- Whether subfloor prep is included or billed as needed
- Transition trims included and the number/type per doorway
- Timeline, daily working hours, and dust/noise expectations
FAQ: hiring a vinyl plank flooring installer
How long does a typical vinyl plank installation take?
Duration depends on room size, subfloor prep, and complexity (islands, hallways, stairs, multiple transitions). Many single rooms finish in one to two working days after acclimation and prep, but larger or more complex spaces take longer.
Do I need underlayment if my vinyl plank has an attached pad?
Not usually. Most products with attached pads are designed to go directly over the approved subfloor. Adding a second pad can create too much deflection or void certain manufacturer requirements. Always follow the specific product guidance.
Should planks go under or up to kitchen cabinets?
Sequencing varies by product and layout. Floating floors often stop at cabinet bases with an expansion gap concealed by trim, while glue-down systems may be installed in different sequences. Discuss cabinet timing, appliance loads, and trim details with your installer.
What’s the best way to handle transitions to tile or carpet?
Use compatible reducers or T-molds that match height differences and allow movement (for floating floors). Dry-fit and test door swing before fastening.
Is vinyl plank suitable for bathrooms or laundry areas?
Many products are designed for moisture-prone areas, but suitability and installation methods vary. Follow the product’s wet-area instructions, protect transitions, and wipe up standing water promptly.