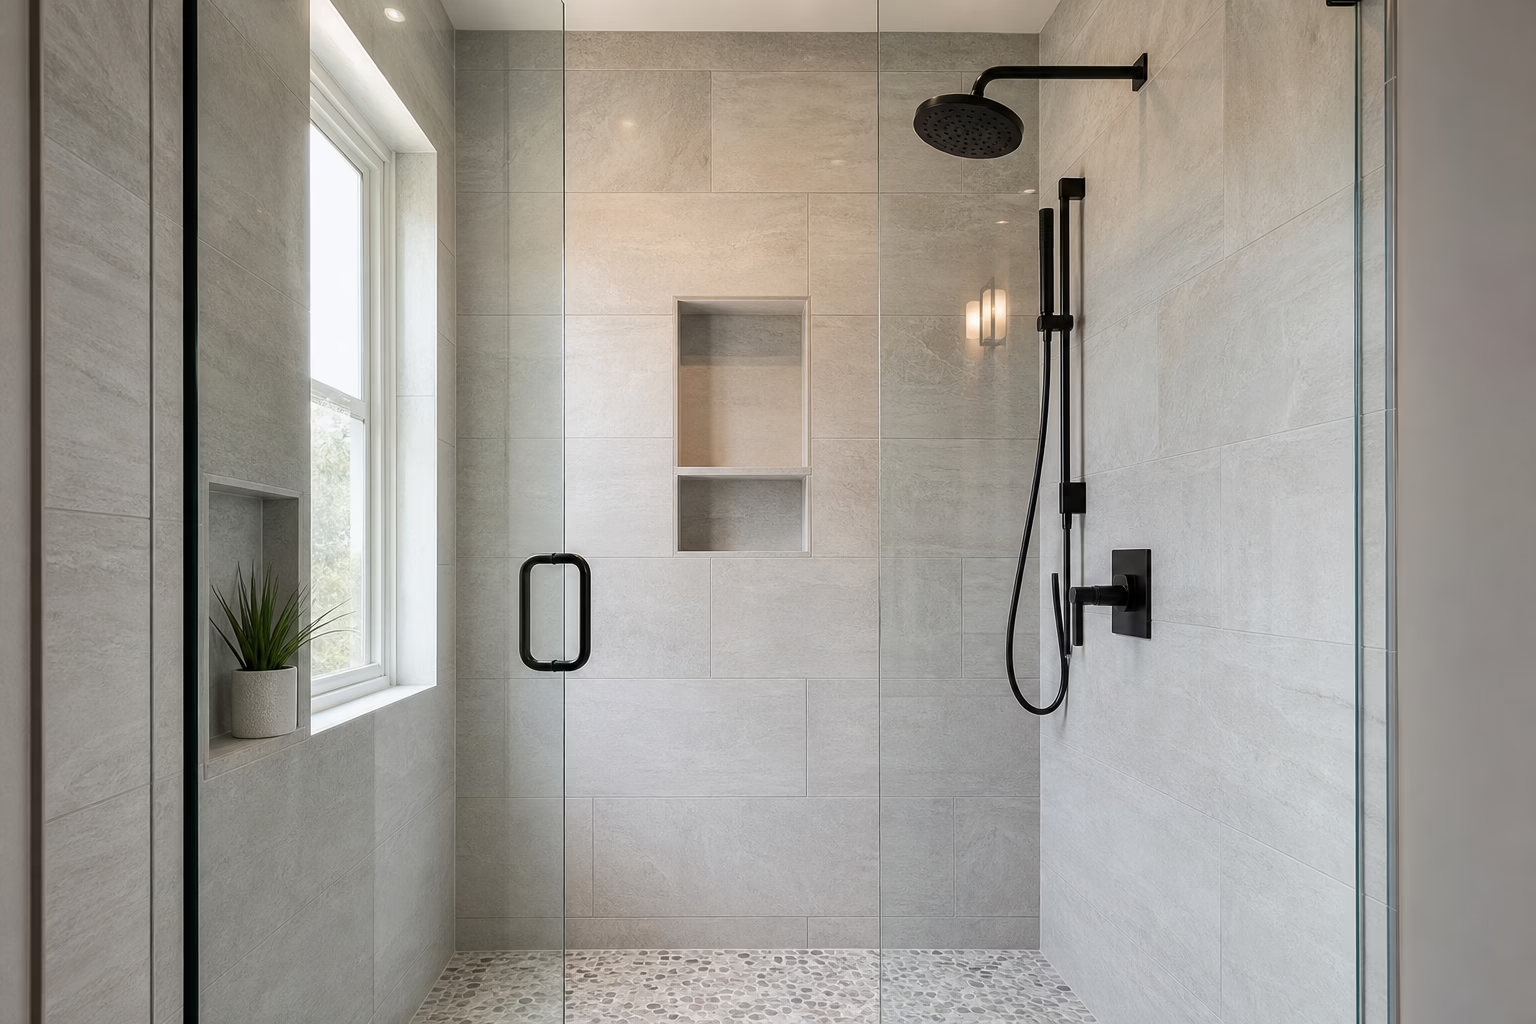

How to complete shower tile installation: steps and stop points?
This article walks you through a focused, step-by-step shower tile installation workflow with explicit stop points and safety limits you can use to decide when to continue, pause, or call a qualified pro. Follow the ordered steps, check each stop point, and verify manufacturer and local-code requirements before proceeding.
1. Planning and measurement
Start by documenting the shower dimensions, drain location, and any fixtures that intersect tiled surfaces. Accurate measurements reduce cutting errors and help you calculate material needs and layout patterns.
- Record wall heights and widths, shower curb dimensions (if any), and distance between drain and walls.
- Identify substrate types behind the tile area (cement board, concrete, greenboard, existing tile) and whether a prefabricated pan or liner is present.
- Sketch the layout to position full tiles where they’ll be seen most and minimize small cuts in corners or at thresholds.
Stop point: if you cannot reliably identify the substrate or you discover structural damage or heavy mold, pause and consult a qualified contractor or inspector. Installing tile over an unstable or wet substrate risks failure.
2. Materials, tools, and verification checks
Compile a materials and tools list and verify product suitability for wet environments by reading manufacturer instructions for each item. Typical items include tile, grout, waterproof membrane, setting material specified for showers, and appropriate tools.
- Materials to verify: tile, grout, waterproofing (membrane or coating), thin-set or mortar specified for wet areas, backer board or equivalent substrate.
- Tools and supplies: tape measure, level, tile spacers, tile cutter or wet saw, notched trowel, grout float, mixing bucket, utility knife, safety goggles, gloves.
- Reference pages: consult tiles installation guidance and flooring installation considerations for related preparation steps and substrate compatibility.
Stop point: if any product label or technical data sheet indicates the product is not intended for shower/wet applications, do not proceed with that product. Instead, obtain an approved shower-grade alternative.
3. Installation steps (ordered)
-
Prepare and waterproof the substrate.
Remove loose material, ensure the substrate is flat within the tolerances the tile manufacturer allows, and install the waterproofing system required for showers—this can be a membrane, liquid-applied coating, or a manufacturer-recommended system. Follow the waterproofing product instructions carefully.
Stop point: run a visual and tactile check for voids, pinholes, or seams in the waterproofing. If any defect exists, repair before tiling. If you cannot confirm a continuous waterproof barrier, stop and consult a professional.
-
Dry layout and cutting plan.
Lay out tiles dry (without adhesive) to determine starting points, patterns, and where cuts will fall. This helps you avoid narrow edge pieces and informs how to handle niche or bench areas.
Stop point: if the dry layout forces many small, unworkable cuts or creates visual problems, revise the layout or choose a different pattern/starting location.
-
Grout and clean.
After the setting material has cured to the point recommended by its manufacturer, remove spacers and grout joints with a grout suitable for wet areas. Clean grout haze per the grout manufacturer’s directions.
Stop point: if grout does not appear to cure correctly, or if efflorescence or soft grout appears, stop additional sealing or finishing and investigate moisture or compatibility issues.
-
Seal joints and verify fixtures.
Where tile meets metal or different materials (fixtures, curbs, thresholds), use a compatible sealant where required. Install escutcheons, drain covers, and any trim per manufacturer instructions.
Stop point: do not use water on the finished surface until sealants and grout have fully cured to manufacturer-recommended times. If you must use the shower, restrict use until cure times are complete.
4. Common stop points and safety limits
Recognize situations that should pause installation:
- Unknown or unstable substrate — investigate and stabilize before proceeding.
- Incomplete or noncontinuous waterproofing — repair or replace the system before tiling.
- Incompatible products detected (e.g., grout that conflicts with waterproofing) — consult technical data sheets.
- Poor drain performance or incorrect slope — correct substrate slope first.
- Adverse environmental conditions (extreme cold, high humidity) that affect adhesives — adjust the workspace or delay work.
5. Final inspection and post-install checks
Before regular use, perform a complete inspection:
- Check grout and sealant lines for full contact and coverage.
- Confirm no gaps exist between tile and fixtures.
- Run a controlled water test if feasible to confirm drainage and detect leaks — only after manufacturer-recommended cure times.
- Document manufacturer names and product data sheets for tiles, grout, and waterproofing used, keeping them with the project files for future maintenance.
If you detect leaks, soft substrates, or persistent drainage problems, stop using the shower and contact a qualified tradesperson for evaluation.
6. Additional resources and references
For specific tile and substrate preparation details, consult a dedicated tiles installation resource and review flooring installation considerations for related transitions and thresholds:
- tiles installation
- flooring installation
- For related millwork or prefabricated drain components, see Altima Millwork Inc.
Frequently asked questions
How long should I wait before using a newly tiled shower?
Curing and drying times vary by the setting material, grout, and waterproofing used. Always follow the manufacturer’s stated cure and dry times before exposing the tiled surface to water. If product data are unclear, delay use until grout and sealants are hard to the touch and setting material manufacturer guidance is met.
Can I tile over existing tile or a prefab shower pan?
Sometimes tiling over existing surfaces is possible, but compatibility depends on the existing substrate and the intended waterproofing approach. Verify structural soundness and bonding capability, and confirm that the overlay system and waterproofing method are appropriate. If you cannot confirm compatibility, remove the old surface or consult a professional.
When should I call a professional instead of doing it myself?
Stop and call a professional if you find structural damage, active leaks, an unknown substrate, or if local codes require licensed trades for plumbing or waterproofing. Also consider professional help when the layout includes complex drainage, multiple planes, or high-value finishes that require guaranteed workmanship.
If you followed the ordered steps and verified each stop point, you’ll reduce the most common installation risks. Remember to keep product data sheets and inspection notes for future maintenance or warranty questions.