A Practical Guide to Home Renovation Project
Taking on a home renovation project can be exciting—and overwhelming. With so many moving parts, clear structure is the difference between a smooth experience and a chaotic one. This guide gives you a practical roadmap from first idea to final walkthrough. Use it as a framework you can tailor to your home, budget, and timeline.
Define your why and vision
Every successful renovation starts by clarifying your motivation and outcomes. Before you collect quotes or pick finishes, write a short brief that answers three core questions:
- Why are you renovating now? (e.g., improve layout, add storage, refresh style, accommodate life changes)
- What does success look like? (functionality, durability, maintenance needs, accessibility, resale considerations)
- What are must-haves versus nice-to-haves? (prioritize early; it guides every decision)
Document constraints as well—space limits, existing structure, timing around family schedules, and any known issues to investigate (like moisture or electrical capacity). A one-page vision brief keeps decisions aligned when trade-offs arise.
Set scope and priorities
Scope is the backbone of planning. Break your project into discrete work packages so you can plan and price them logically.
- Structural and layout changes (moving walls, adding openings)
- Systems and rough-ins (electrical, plumbing, HVAC)
- Surfaces (drywall, flooring, tile, paint)
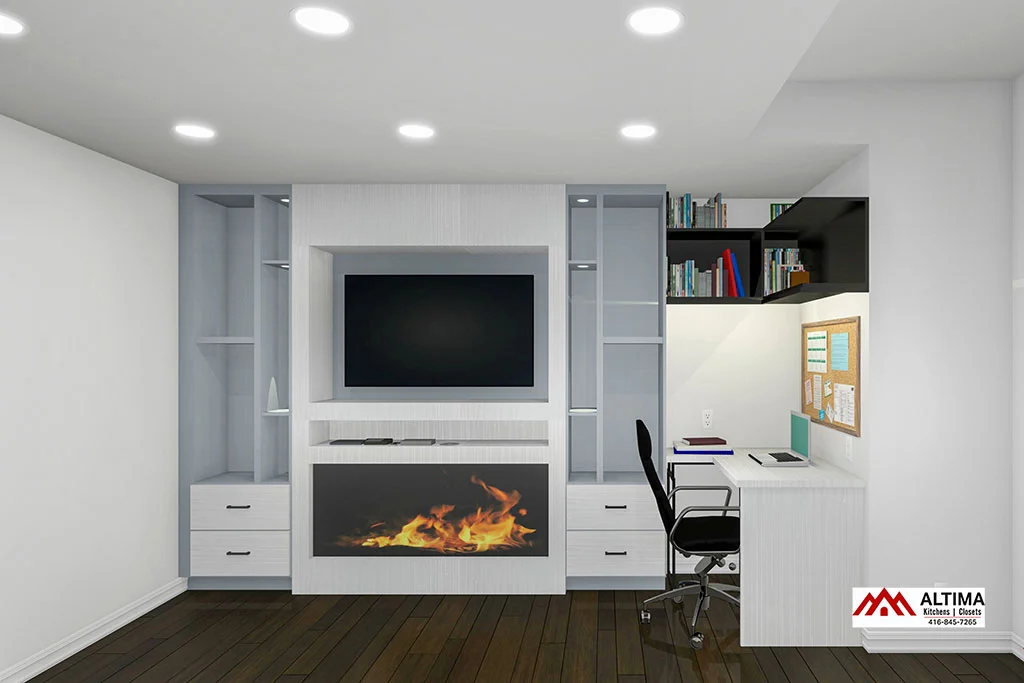
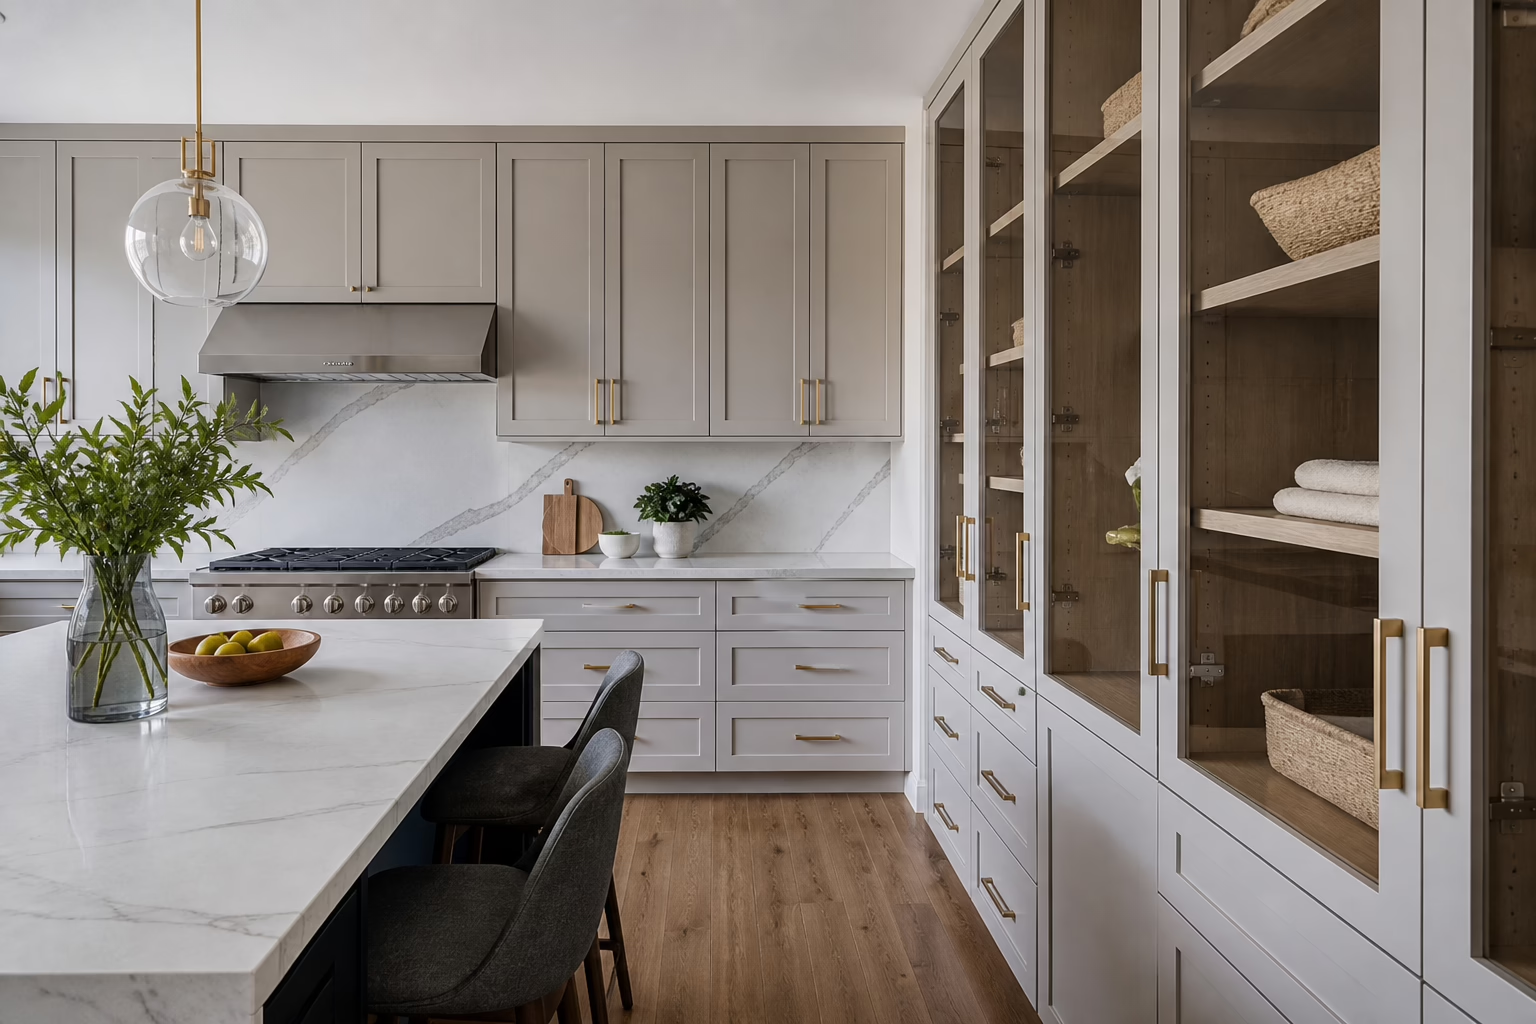
- Millwork and storage (kitchen cabinets, closets, built-ins)
- Fixtures and fittings (lighting, hardware, faucets)
- Appliances and technology (venting needs, power requirements)
Rank each package by impact and dependency. For example, structural and systems decisions typically come first because they shape every other choice. Create a “defer or phase” list of items that can wait if time or funds tighten.
Create a realistic budget
A thoughtful budget is more than a single number. It’s a map of expected costs and buffers. Consider:
- Design and planning (drawings, measurements, consultations)
- Materials and products (cabinets, tile, flooring, fixtures)
- Labor and installation (demolition through finishing)
- Specialty trades as needed (electrical, plumbing, HVAC)
- Disposal, protection, and site prep
- Temporary living adjustments (storage, dust control)
- Contingency for unknowns uncovered during demo
Track allowances (e.g., for tile or lighting) and update them when you choose actual products. Maintain a living spreadsheet that records quotes, deposits, purchase orders, delivery dates, and final invoices. If the project involves financial decisions, consider consulting a qualified financial professional for personalized guidance.
Assemble the right team
- What is the proposed scope breakdown and sequence of work?
- How are measurements verified and changes handled?
- What is included/excluded in the quote? Are allowances itemized?
- What is the communication plan (primary contact, update cadence)?
- How are deliveries, site protection, and clean-up managed?
- What documentation will you receive at closeout (as-built notes, care instructions)?
Request itemized estimates that align with your scope packages. Keep all proposals in the same format so you can compare like-for-like.
Plan design and specifications
Design decisions drive function, cost, and timeline. Capture them in a single, updatable specification sheet:
- Floor plan with dimensions and clearances
- Elevations for kitchens, closets, media units, and vanities
- Material selections (cabinets, counters, flooring, tile, paint)
- Fixture schedules (sinks, faucets, lighting, hardware)
- Appliance list with cutouts, power, venting, and water needs
- Storage accessories and lighting details (pull-outs, shelf heights, under-cabinet lighting)
Design once, verify twice. Confirm door swings, drawer clearances, and appliance openings against real measurements, not just brochure specs. A final design sign-off reduces costly mid-project changes.
Check permits and approvals
Some renovations require approvals depending on scope and location. Common triggers include structural changes, electrical and plumbing work, or altering egress paths. Check requirements with the appropriate local authorities before starting. When in doubt, ask your contractor or designer what documentation is typically coordinated and who is responsible for submissions.
Build a timeline and phase plan
A clear sequence minimizes downtime and rework. A typical flow looks like this:
- Pre-construction: measurements, design finalization, selections, and ordering long lead items
- Site prep: protection, temporary setups, and demolition
- Rough-in: framing, electrical, plumbing, HVAC
- Insulation and drywall: close walls when inspections/rough-ins are complete
- Finishes: flooring, tile, paint, trim
- Millwork and fixtures: cabinets, countertops, lighting, plumbing trim
- Finals: touch-ups, cleaning, and walkthrough
If you’ll live in the home during work, consider phasing by area (e.g., finishing a bathroom before starting a kitchen) to maintain essential functions. Add buffer time for inspections and deliveries.
Procurement and lead times
Procurement can make or break a schedule. Identify long-lead items early and order them before demolition whenever possible. Typical longer-lead categories include custom cabinetry, special-order tile, some flooring, countertops, and certain appliances.
- Track orders in a shared log with estimated ship dates and arrival windows.
- Inspect items upon arrival for damage and correctness; report issues immediately.
- Stage materials by room or sequence so crews aren’t waiting or working around clutter.
- Confirm site access for deliveries (door widths, elevator bookings, parking, and protection).
Keep the design locked before placing major orders. Even small changes (like a sink model) can cascade into countertop recuts or plumbing adjustments.
Execution and quality control
Quality is built with consistency. Establish a light but effective jobsite routine:
- Daily recap: what was done, what’s next, and issues needing decisions
- Progress photos of key milestones (behind-walls, waterproofing, leveling)
- Checklists for rough-in and pre-close validations
- Spot measurements against drawings before installing fixed elements
- Protection checks for floors, stairs, and finished surfaces
Use simple templates to standardize reviews—punch lists for deficiencies, sign-offs for inspections, and delivery check-ins for each shipment.
Safety and livability during renovation
Renovations are safer and less stressful with a few proactive steps:
- Designate work zones and clean paths; keep tools corralled and cords taped down.
- Use dust control strategies: zip walls, negative air, sealed returns, and daily vacuuming.
- Set quiet hours and neighbor notifications if you share walls or common areas.
- Secure pets and protect children from work areas.
- Store finishes and adhesives according to manufacturer guidance and away from heat sources.
Confirm who handles debris removal and how frequently. A tidy site improves morale and reduces accidents.
Managing changes and communication
Changes happen. What matters is how they’re handled. Adopt these simple rules:
- Put every change in writing with a brief reason, cost/time impact, and approval.
- Bundle minor changes to avoid administrative overload, but never lose track of totals.
- Use one source of truth for schedules and drawings to avoid version confusion.
- Hold short, regular check-ins; cancel only if the written update answers all open items.
Clear, respectful communication keeps momentum and prevents small issues from snowballing.
Closeout, punch, and handover
As the project nears completion, shift focus from building to finishing and handover. A structured closeout ensures you get what you planned and paid for:
- Punch list: walk room-by-room and note items to address (touch-ups, alignments, adjustments).
- Systems and appliance checks: run water at all fixtures, test GFCIs, verify venting and lighting.
- Cabinetry and doors: confirm reveals, soft-close function, and level installations.
- Surfaces: inspect tile and grout joints, caulk lines, flooring transitions, and paint coverage.
- Documentation: collect product manuals, care instructions, and final drawings or markups.
- Maintenance plan: note recommended cleaning, filter changes, and sealant refresh intervals.
Schedule a follow-up check after you’ve lived in the space for a few weeks to catch settling items like door tweaks or minor caulk touch-ups.
Maintenance and care checklist
Protect your investment with steady, low-effort care:
- Wipe spills quickly to protect floors, counters, and grout.
- Use cleaners approved for your specific materials; avoid abrasives on delicate finishes.
- Check under sinks and around appliances for early signs of leaks.
- Vacuum soft-close drawer tracks and cabinet hinges periodically.
- Refresh caulk and sealants as recommended by the manufacturer.
- Keep a small touch-up kit with matching paint, filler, and spare hardware.
Common pitfalls and how to avoid them
- Vague scope: write it down, line by line, with inclusions/exclusions.
- Late selections: finalize before ordering; verify measurements twice.
- Underestimating logistics: plan delivery paths, protection, and staging.
- Skipping contingency: set aside a buffer for surprises uncovered during demolition.
- Poor documentation: standardize change orders, punch lists, and sign-offs.
- Communication gaps: adopt a weekly cadence with clear owners and next steps.
FAQs
How long does a home renovation project typically take?
Timelines vary with scope, complexity, lead times, and whether you phase the work. A small, single-room refresh can be measured in weeks; multi-room or structural renovations can extend into multiple months. Build flexibility for inspections, special orders, and coordination among trades.
What should I finalize before demolition starts?
Lock your floor plan, elevations, critical dimensions, and major selections (cabinets, counters, appliances, plumbing fixtures, tile). Order long-lead items and confirm delivery windows. Establish site protection plans and a communication schedule with your project leads.
How do I compare renovation quotes fairly?
Provide each bidder the same scope and selection assumptions. Request itemized estimates with clear allowances and exclusions. Confirm who supplies each item, who handles debris removal, and how changes are priced. Align on payment milestones tied to progress, not dates alone.
Can I live at home during the renovation?
Often yes, with planning. Create temporary kitchens or baths where possible, sequence the work to keep essentials available, and use dust control to protect living areas. Expect some noise and disruption, and keep valuables and sensitive items out of work zones.